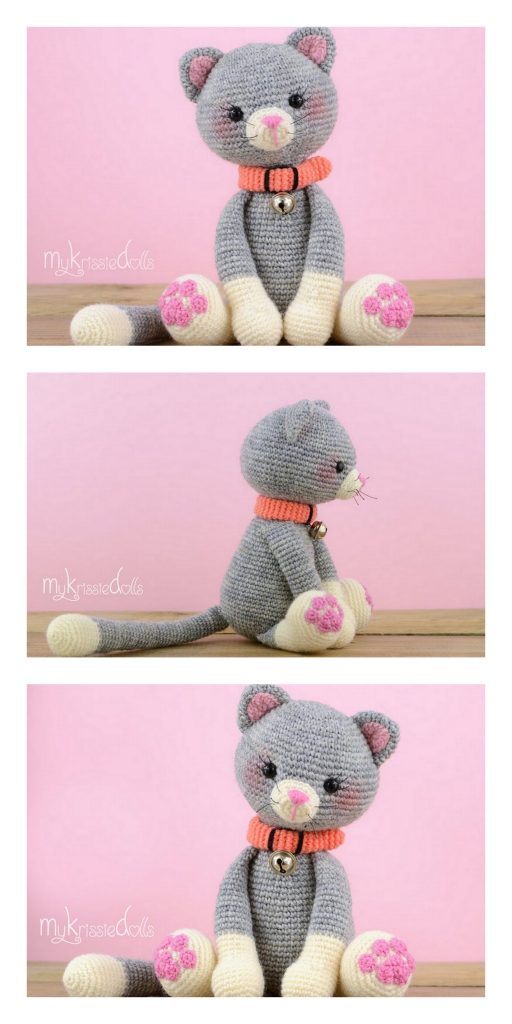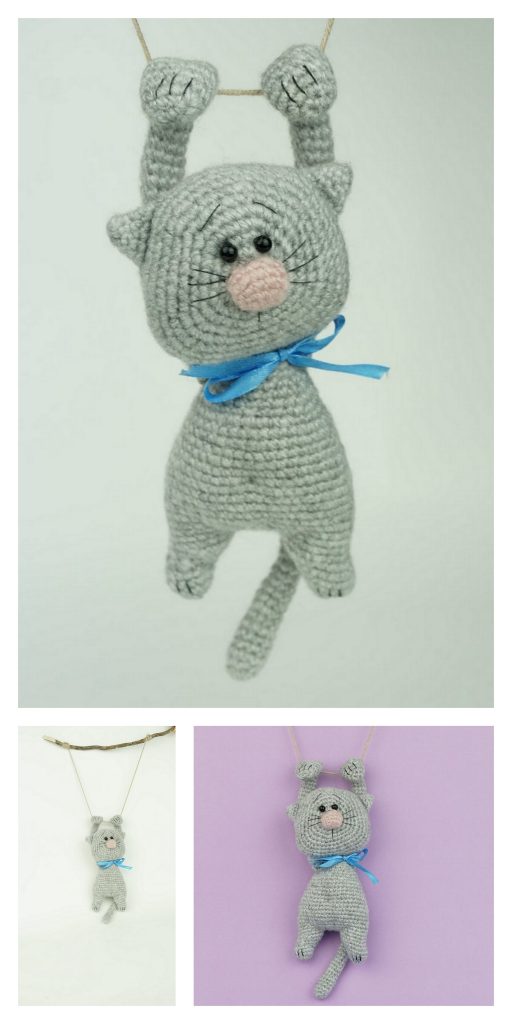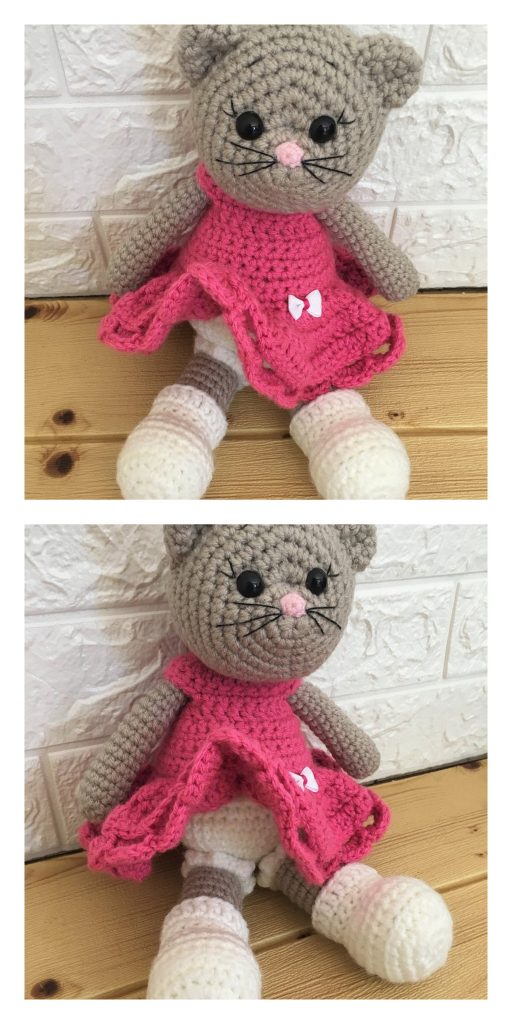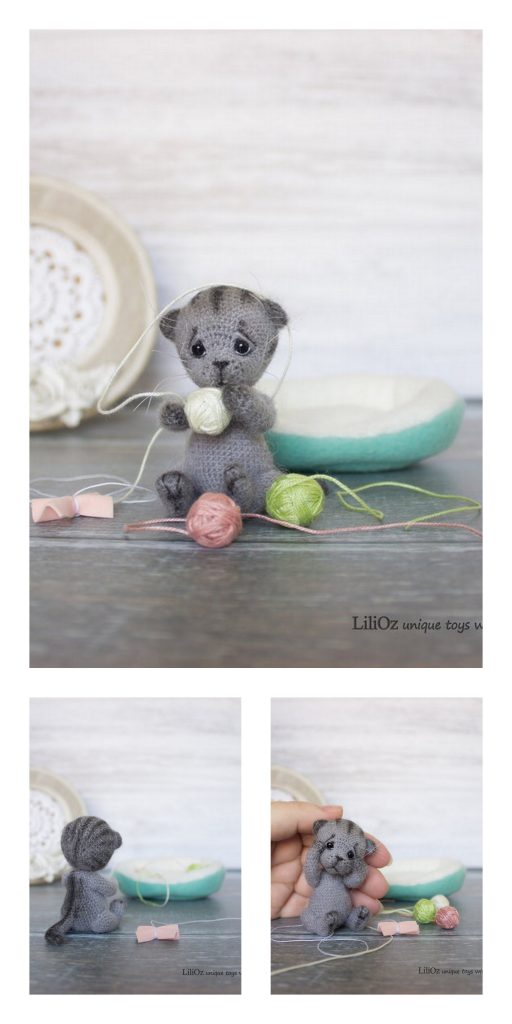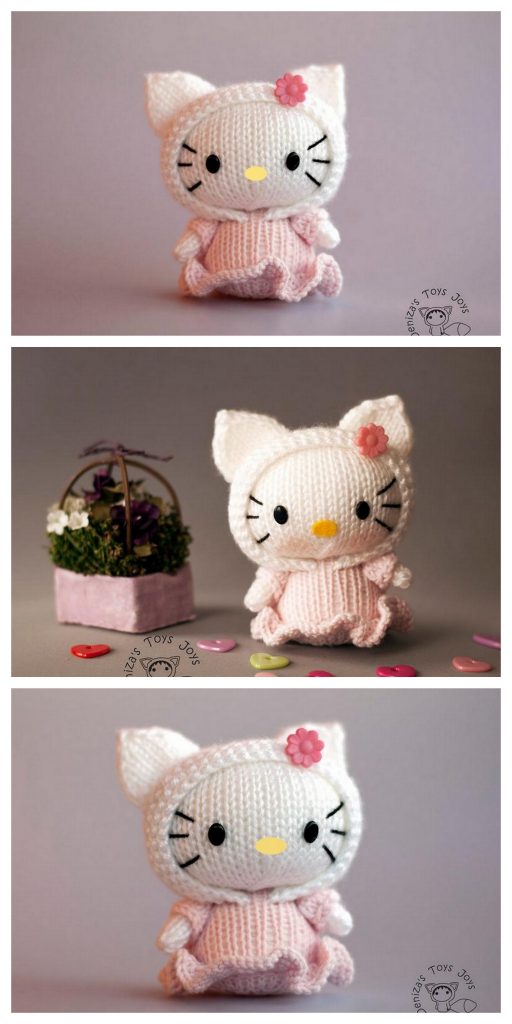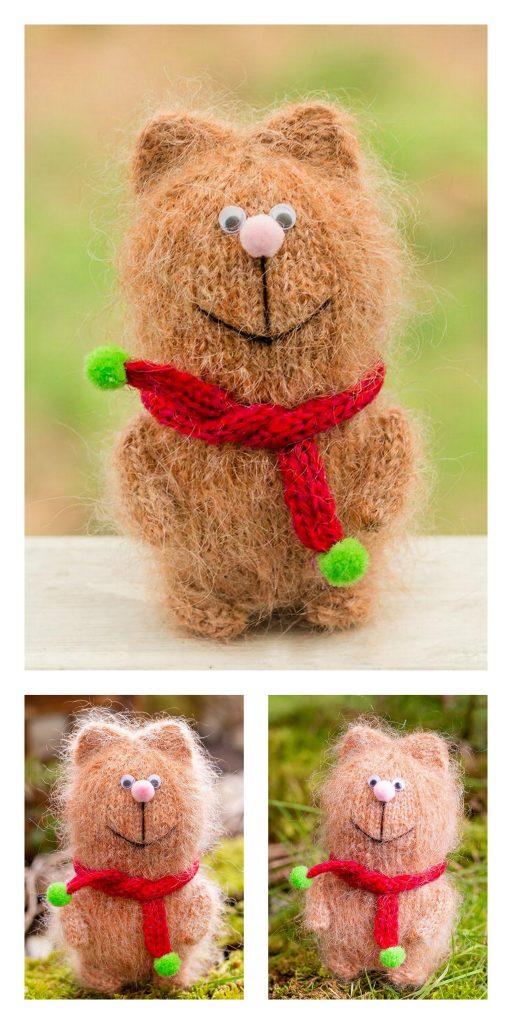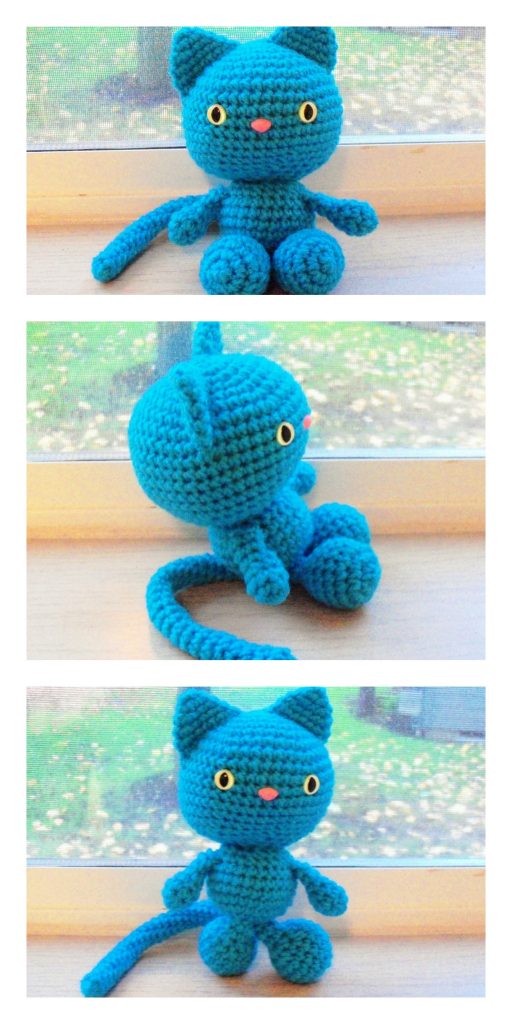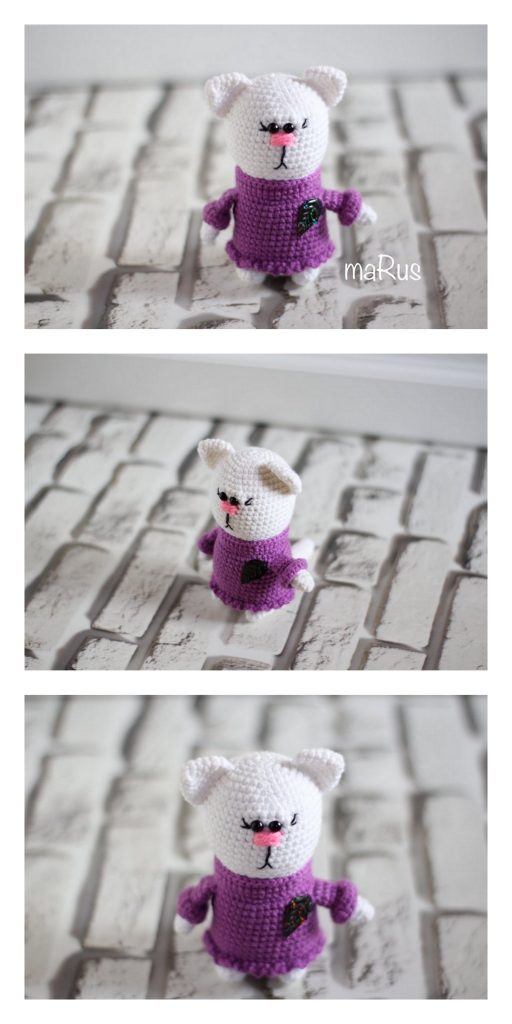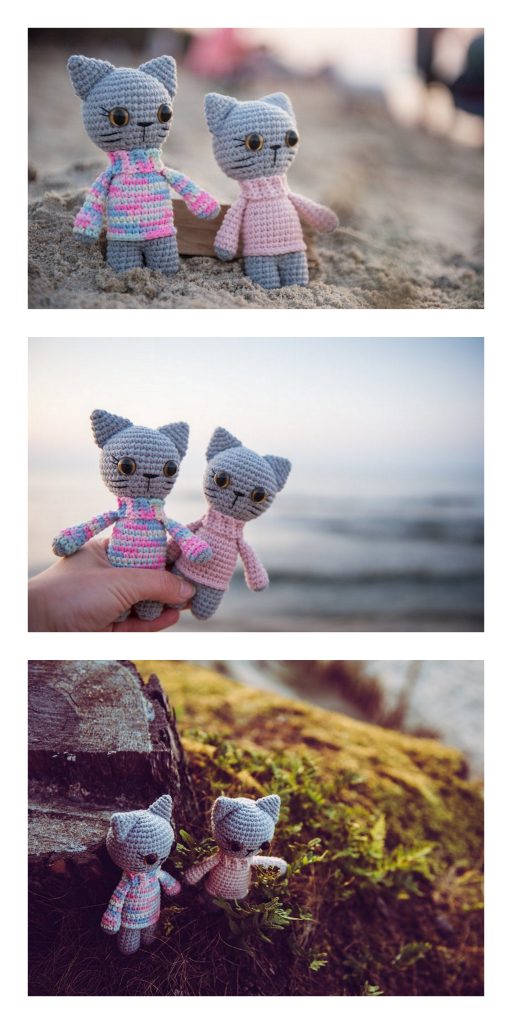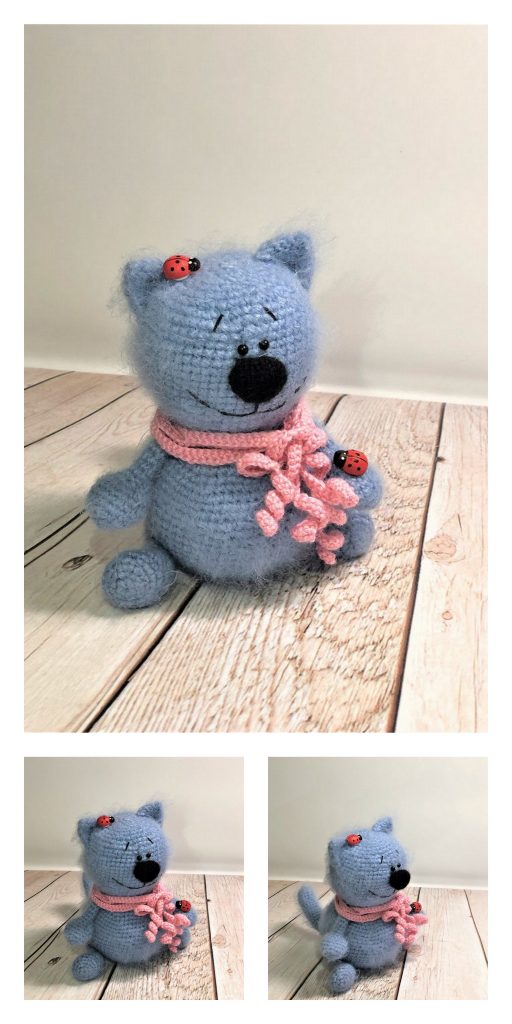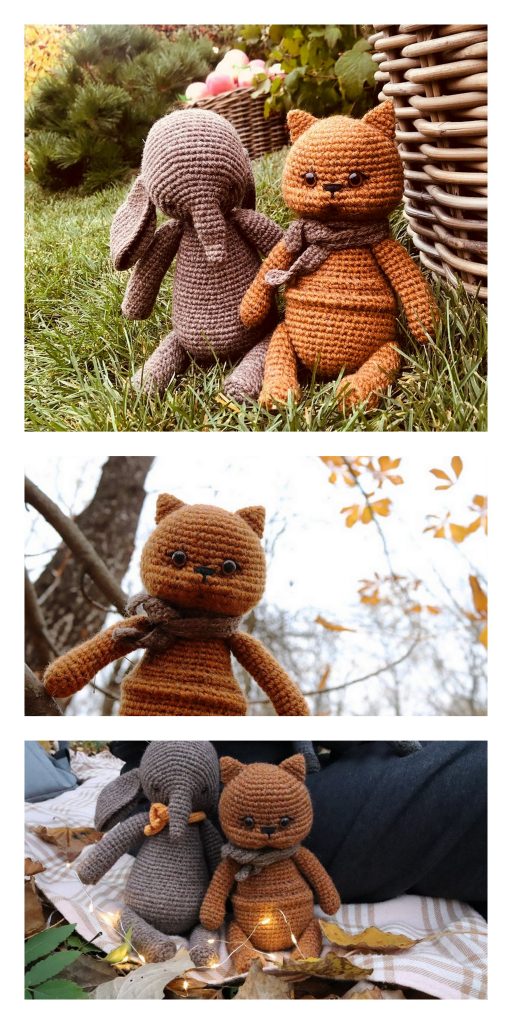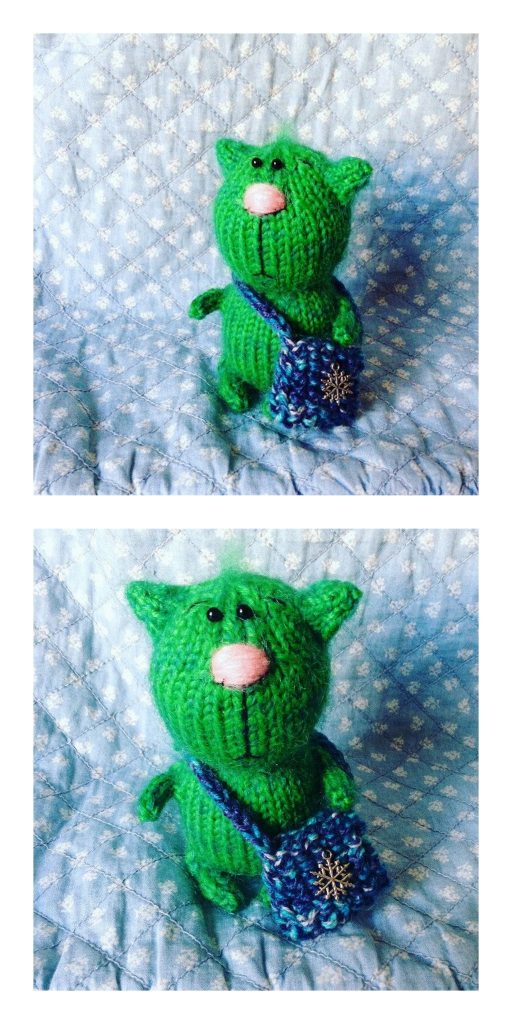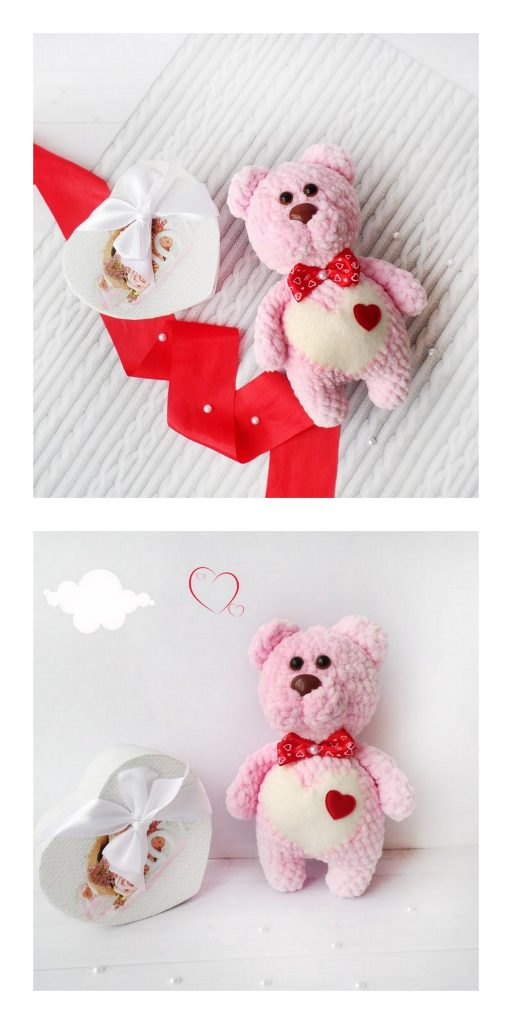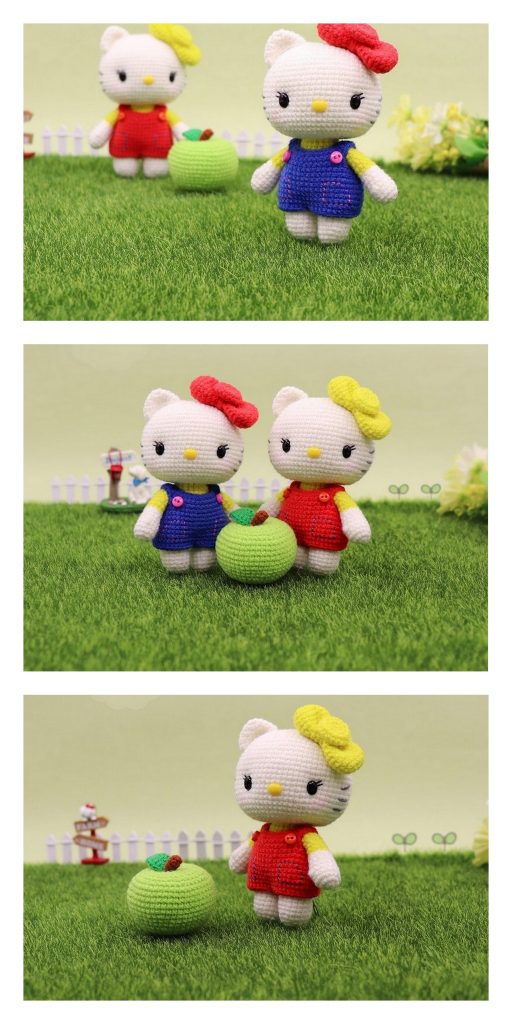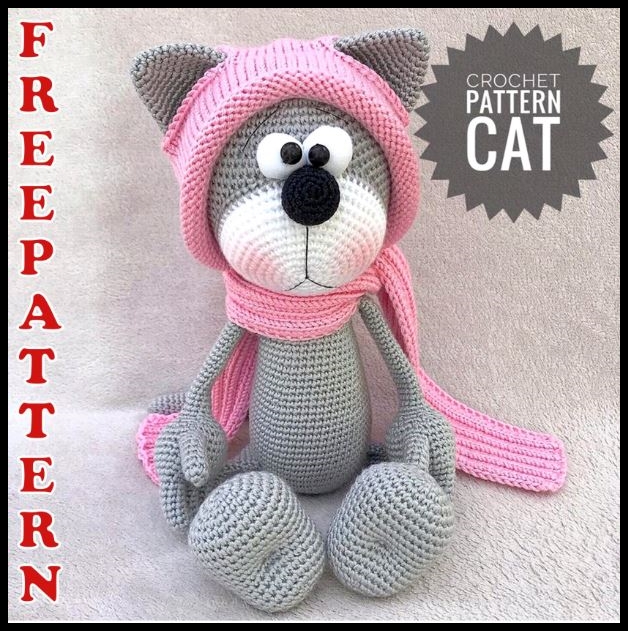
Amigurumi Cute Cat Free Crochet Pattern
Hello dear visitors, I am here again with new amigurumi molds for you. I am sharing amigurumi patterns for you here for free. You can make your children happy by making these patterns. Amigurumi toys are very popular lately and are the most beautiful toys that don’t harm your kids. Your kids will love them. Let’s move on to our pattern and give them this gift.
Abbreviations:
Sc – single crochet
inc – increase,
Dec – decrease
Hdc – half crochet
CH – chain
MATERIALS:
gray-blue (130g), white (30g), red (50g), blue yarn (50g), composition (100%
microfiber, 230m / 100gr), a little pink floss, the remains of any fluffy yarn, the same
density, as the main one, 1.75mm hook, synthetic winterizer, 3mm knitting needles, two circles with a diameter
6mm, cut from cotton fabric, two beads with a diameter of 5mm, cotter pin: discs
diameter 20mm (2pcs), diameter 9mm (4pcs), diameter 12mm (4pcs), cotter pins necessarily with
round head.
HEAD:
1 pp. -6sc into magic ring (6,)
2p.-inc, until the end (12),
3p.-1sc, inc, to the end (18),
4p.-2sc, inc, to the end (24),
5p.-3sc, inc, to the end (30),
6p.-4sc, inc, to the end (36), 7p.-5sc, inc, to the end (42),
8p.-6sc, inc, finish (48),
9p.-7sc, inc, to the end (54),
10 pp. -8sc, inc, to the end (60),
11p.-9sc, inc, to the end (66),
12p.-10sc, inc, to the end (72),
13p.-11sc, inc, to the end (78),
14r.-24r.-78sc (78),
25R.-dec, 11sc, to the end (72),
26p.-dec, 10sc, until the end (66),
27 p.- dec, 9sc, to the end (60),
28p.-dec, 8sc, until the end (54),
29p.-dec, 7sc, until the end (48),
30r.-dec, 6sc, to the end (42),
31R.-dec, 5sc, to the end (36),
32r.-dec, 4sc, to the end (30),
33r.-dec, 3sc, to the end (24),
34 pp. – dec, 2sc, until the end (18)
fill the head, at this stage insert the cotter pin (assemble it, as shown in the photo)
35r.-dec, sc, to the end (12),
36R.-dec, until the end (6), twist the cotter pin tendrils with tight pliers, not tight
tighten, because we will then put on the body on it (see photo)
Muzzle: (in white):
1 pp. -6sc into magic ring (6),
2p.-inc, until the end (12),
3p.-1sc, inc, to the end (18),
4p.-2sc, inc, to the end (24),
5p.-3sc, inc, to the end (30),
6p.-4sc, inc, to the end (36),
7p.-5sc, inc, to the end (42),
8p.-6sc, inc, to the end (48),
9p.-7sc, inc, to the end (54),
10 pp. -8sc, inc, to the end (60),
11p.-60sc (60),
12p.-9sc, inc, to the end (66),
13 pp. – 66sc (66) – fluffy yarn.
Sew the muzzle to the head, between 13 and 33 near the crown, not pulling, but making it, as if
slightly convex and lay a little syntapon, distributing it evenly, approximately 5 mm thick., fluff or slightly comb the last row (see photo).
EARS:
1 pp. -6sc into magic ring (6),
2p .- (1sc, inc) -3 times (9),
3p .- (2sc, inc) 3 times (12),
4p- (3sc, inc) – 3 times (15),
5p .- (4sc, inc) -3 times (18),
6 p .- (5sc, inc) -3 times (21),
7p .- (6sc, inc) -3 times (24),
8 pp. – (7sc, inc) -3 times (27),
9 p .- (8sc, inc) -3 times (30),
10 p .- (9sc, inc) -3 times (33),
11 p .- (10sc, inc) – 3 times (36),
12 p .- (11sc, inc) -3 times (39),
13R-39sc,
14R.- Fold the part in half and capturing both halves, we knit a row of conn.sc (20)
NOSIK: (pink floss):
1 pp. -6sc into magic ring (6),
2p.-inc, until the end (12),
3p.-1sc, inc, to the end (18),
3-5p.-straight (18)
6p.-dec, until the end
If you have a suitable bead in size, then you can tie it, I tied it, it turned out
very good, the nose has a strictly round shape and it’s convenient to sew, and it does not deform.
EYES: For this we need two circles of white cotton fabric. I cut them about 5-6 cm in
diameter.
1-cut the circle, bend the sides about 3 mm and stitch it with a notched seam.
2, put a piece of filler in the resulting slightly tightened circle and tighten it tightly, the thread
fasten, sew the bead.
Sew eyes to the muzzle. Sew the nose onto the white canvas of the muzzle, its upper part
should be on the border with gray-blue color, and the eyes are close to each other at the border of blue-white and white, embroider the mouth with black threads (see photo).
Here we have such a pretty face at this stage
HANDS: We start knitting with the fingers, first we knit the thumb, then 3 main fingers, the third one does not
tearing the thread, we continue to knit further hand.
Thumb (2pcs.):
1 pp. -8sc into magic ring (8),
2R-5R-8sc (8)
Main fingers (6pcs.):
1 pp. -8sc into magic ring (8),
2r.-6r.-8sc (8)
Next, we knit a palm:
1p.-4sc of the first finger, 4sc of the second finger, 8sc of the third finger, 4sc
second finger, 4sc of the first finger (24),
2p.-3sc, inc, to the end (30),
3R-5R-30sc (30),
6R.- for the left hand: 16sc, attach the thumb (4sc, capturing the loops of the palm and
finger), 10sc (30), for the right hand: 10sc, attach the thumb (4sc, capturing the loops of the palm and finger), 16sc (30),
7p.-16sc, 4sc of the thumb, 10sc (30),
8p. -30sc (30),
9 p. – 3sc, dec, to the end (24),
10 pp. -2sc, dec, to the end (18),
11p.-sc, dec, to the end (12), then 220sc, we knit in a spiral, stepping back one row, insert a shlintovoe fastener, a 9mm disk, insert it into the hand, then 6dec, to the end, tighten the loops.
FEET: Foot:
1 pp. -6sc into magic ring (6),
2p.-inc, until the end (12),
3p.-1sc, inc, to the end (18),
4p.-2sc, inc, to the end (24),
5p.-3sc, inc, to the end (30),
6r.-7r.-30sc (30),
8p .- (dec, 13sc) -2 times (28),
9 p.- (dec, 12sc) -2 times (26),
10 p .- (dec, 11sc) -2 times (24),
11R-16R-24sc (24),
17p.-2sc, dec, to the end (18),
18R.-1sc, dec, to the end (12), fill with syntapon,
19R.-dec, until the end (6), break the thread
Leg:
1p.-10 sc into magic ring (10), then we knit 250sc in a spiral, stepping back one
row, insert the shlintovoe mount, 9mm disc, insert into the leg, then 6dec, to the end, tighten the loop.
You don’t need to fill the leg with a syntapon, and hands, too, we fill only the hands, we attach the foot to the foot with
with the help of a hook, a heel is formed in us.
We embroider claws with black threads, mouth and claws are better to embroider with thin threads, in one
addition.
BODY: Between the 8th and 9th rows we insert the cotter pin of the handles, between the 27th and 28th rows
we insert the cotter pin of the legs, we do not tighten the cotter pins so that the handles and legs can
hang out freely.
1 pp. -6sc into magic ring (6),
2p.-inc, until the end (12),
3p.-1sc, inc, to the end (18),
4p.-2sc, inc, to the end (24),
5 p. 3sc, inc, to the end (30),
6p.-4sc, inc, to the end (36),
7p.-5sc, inc, to the end (42),
8p.-6sc, inc, to the end (48),
9R-17R-48sc (48),
18r .- (dec, 22sc) -2 times (46),
19 p. – 46sc (46),
20 p .- (dec, 21sc) -2 times (44),
21R.-44sc (44),
22 p .- (dec, 20sc) -2 times (42),
23r.- 42sc (42),
24r .- (dec, 19sc) -2 times (40),
25R.-40sc (40),
26r .- (dec, 18sc) -2 times (38),
27 p. – 38sc (38),
28 p .- (dec, 17sc) -2 times (36),
29r.-36sc (36),
30 p .- (dec, 10sc) -3 times (33),
31 pp. – 33sc (33),
32 p .- (dec, 9sc) -3 times (30),
33r.-30sc (30),
34r .- (dec, 8sc) -3 times (27),
35r.-27sc (27),
36 p. – (dec, 7sc) -3 times (24),
37r.-40.-24sc (24),
41p.-dec, 2sc until the end (18).
We collect the loops on a strong thread;
tightly tighten, fasten, hide the ends inside the body, the head should also swing freely, otherwise
she will stick up.
ANIMAL (in white):
1 pp. -6sc into magic ring (6),
2p.-inc, until the end (12),
3p.-1sc, inc, to the end (18),
4p.-2sc, inc, to the end (24),
5p.-3sc, inc, to the end (30),
6p.-4sc, inc, to the end (36),
7p.-5sc, inc, to the end (42),
8p.-6sc, inc, to the end (48),
9p.-48sc (48),
10 pp. – 7sc, inc, to the end (54),
11R.-54sc (54) -fuzzy yarn.
Sew the tummy in the lower body, between the 4th and 22th rows from the bottom, not pulling, but
making it seemingly slightly convex and lay a little syntapon, distributing it
evenly, approximately 5 mm thick., fluff or lightly comb the last row
TAIL:
1p.-dial a chain of 16vp, close into magic ring then we knit in a spiral,
2p-4p. – 16sc (16),
5p.-dec, 14sc (15),
6 pp. -15sc (15)
repeat 5p. and 6r. until the 24th, until there is 6p. Stretch.
In the 20th row, you can change the color of the thread, then you get a brush on the tail
We sew the tail last, so that the cat rests on it and can sit more or less.
Who does not want to bother with fastenings, handles, legs, head can be fastened with thread, button, etc.
methods known to you or just sew on!
Here we have such a handsome man !!! Now we knit clothes !!!
HAT: (I knitted on 5 knitting needles, number 3, I think you can knit on two, and then sew): dial
90 loops and knit with an elastic band (2 knit, 2purl) 6 cm, then we knit with a knit stitch 2 cm (in my version), and
trying on your pet to knit to the ears, close 8 loops (if you have more or
less, then decrease or increase this stage accordingly), 15knit, close 8 loops, then
exactly to the end of the row, next. next to the place of closed loops we get the missing, 3cm knit
smooth surface, (6knit, dec) to the end, not 6 loops may remain at the end, but this does not matter, one row
I knit.I’m ironing, (1knit, dec) to the end, one row of knit.I’m ironing, (dec) to the end, one row of knit.I’m ironing, (dec) to
end, one row knit. I press, assemble the loops on a thread and tighten, make pompons.
Please note that the fabric between the ears should not be pulled !!!! And then the whole hat
skew back !!!
SCARF: we collect 22 loops and knit with an elastic band (2knit, 2purl), the length depends on the number of threads and your
patience.
FLOWER: we draw a chain of 55ch, 1p.-3ch, 4dc in one loop, (skip 2ch, 5dc in one
loop) – to the end, 2p .- (3ch, 3dc, 3ch., 2sl-st) – to the end. Collect a flower.
Well, our cat is ready, it remains to come up with a name for him
More Amigurumi Cute Cat Ideas:


