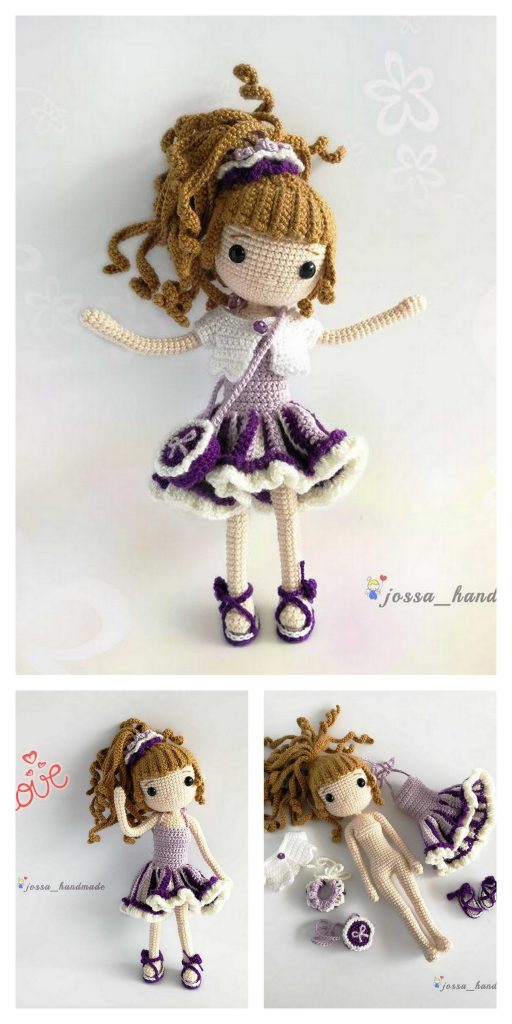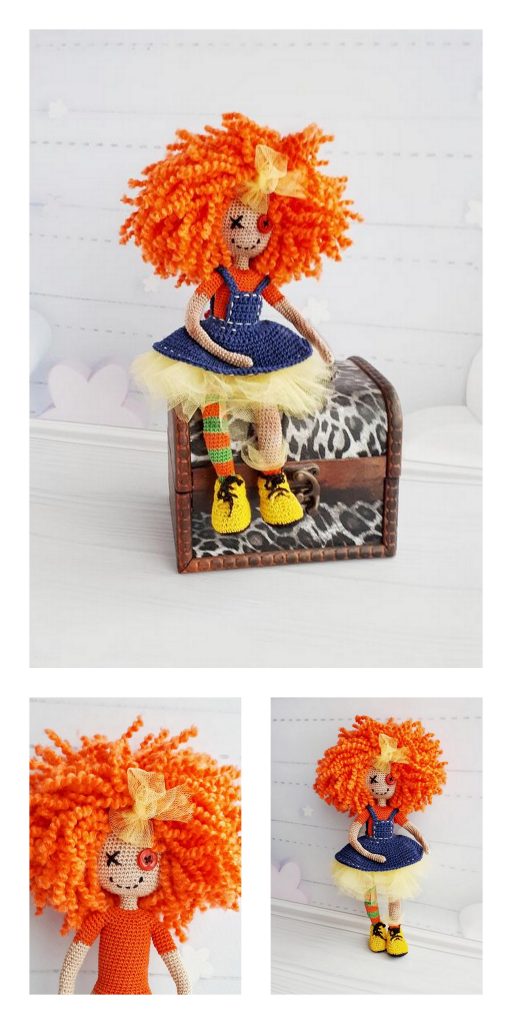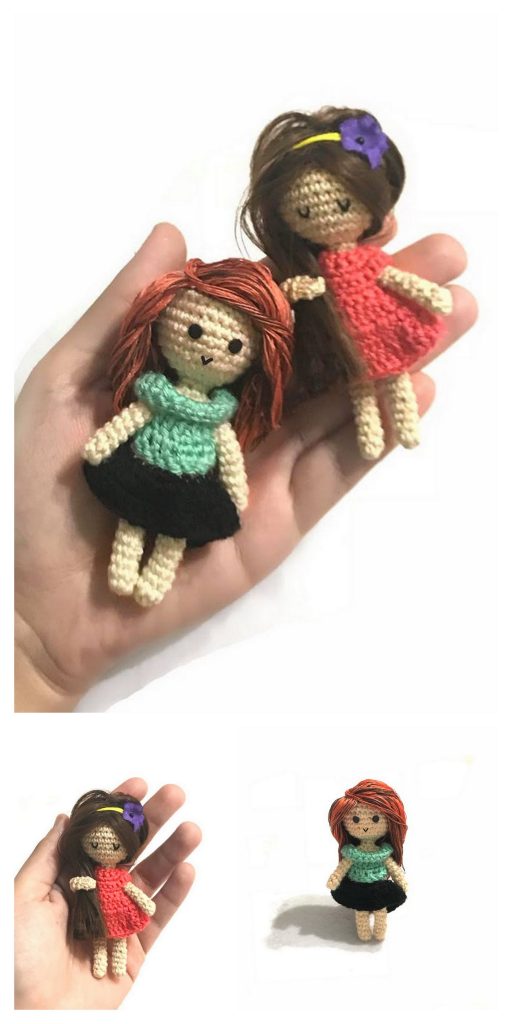
Amigurumi Princess Olivia Free Pattern
Hello dear visitors, I am here again with new amigurumi molds for you. I am sharing amigurumi patterns for you here for free. You can make your children happy by making these patterns. Amigurumi toys are very popular lately and are the most beautiful toys that don’t harm your kids. Your kids will love them. Let’s move on to our pattern and give them this gift.
You will need:
- Approx 100 g size 4 worsted yarn in skin color
- Crochet Hook in Size 3.75 or 3.5
- Tapestry Needle
- Polyfil or preferred stuffing
- 12 mm safety eyes
- Embroidery thread
- stitch marker
Abbreviations
SC- single crochet
SC INC- single crochet increase (2 SC in each stitch)
INV DEC- Invisible decrease (put hook through the FRONT LOOP ONLY of two consecutive stitches [two loops on hook] Yarn over pull through both loops. [two loops on hook] Yarn over pull through two loops)
Magic Circle- Make a loop, leaving a long tail to work with. Insert hook in center of loop, yarn over and draw up a loop. Yarn over, pull through to make the first chain (this does not count as a stitch!). Continue to crochet over the loop and tail with the number of stitches called for. (If you need 6 SC, then crochet 6 SC inside the ring.) Pull the tail to close the circle.
Always move your stitch marker to the last stitch in the round. This pattern is worked in continuous rounds.
*Lightly Stuff as you go!
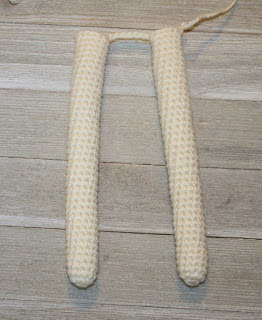
Legs/Body
Round 1: In a magic circle, SC 6
Round 2: SC INC in each stitch around (12)
Round 3-40: SC in each stitch around. (12)
Fasten off.
Repeat for the second leg but do not fasten off. Instead, chain 7 and then SC in the next stitch of the other leg. Take care to crochet over the tail left over by fastening off. SC around the entire leg. When you come to the seven chains, SC in each chain around the next leg. SC over the chain back to the other leg. In the last SC on the last chain place your stitch marker. (This is round 41 and 36 stitches)
Hint: Count 11 stitches around the leg (minus the stitch that will attach the to the chain) then 7 stitches across. Then 11 stitches around the other leg. Then 7 stitches on the other side of the chain.
Round 42: SC around. (36)
Rounds 43-60: SC around (36)
Round 61: 4 SC, INV DEC, repeat around. (30)
Round 62: 3 SC, INV DEC, repeat around.(24)
Round 63: 2 SC, INV DEC, repeat around. (18)
Round 64: 1 SC, INV DEC, repeat around. (12)
Round 65: SC in each stitch around. (12)
Round 66: SC in each stitch around. (12)
Fasten off and leave a long tail. This is what you will use to sew on the head.
If you are interested in attaching the head to the body in one piece, please read this post with a tutorial on how to do so.
Head
Round 1: In a magic circle, 6 SC.
Round 2: SC INC in each around. (12)
Round 3: SC in first, SC INC in next. Repeat around. (18)
Round 4: SC in first 2, SC INC in next. Repeat around. (24)
Round 5: SC in first 3, SC INC in next. Repeat around. (30)
Round 6: SC in first 4, SC INC in next. Repeat around. (36)
Round 7: SC in first 5, SC INC in next. Repeat around. (42)
Round 8: SC in first 6, SC INC in next. Repeat around. (48)
Round 9: SC in first 7, SC INC in next. Repeat around. (54)
Round 10-20: SC in each stitch around. (54)
Place the safety eyes in between rows 16 and 17, 12 stitches apart.
Sew on eyelashes.
Round 21: SC in the first 7, INV DEC in the next. Repeat around. (48)
Round 22: SC in the first 6, INV DEC in the next. Repeat around. (42)
Round 23: SC in the first 5, INV DEC in the next. Repeat around. (36)
Round 24: SC in the first 4, INV DEC in the next. Repeat around. (30)
Round 25: SC in the first 3, INV DEC in the next. Repeat around. (24)
Round 26: SC in the first 2, INV DEC in the next. Repeat around. (18)
Round 27: SC in the first, INV DEC in the next. Repeat around. (12)
Round 28: INV DEC around. (6)
Fasten off and carefully sew the remaining hole closed. Leave a long tail to make the nose.
Arms
Round 1: In a magic circle, SC 10 . (10)
Rounds 2-28: SC in each stitch around (10)
Stuff lightly and attach to body. I sew them on between rows 62 and 63.
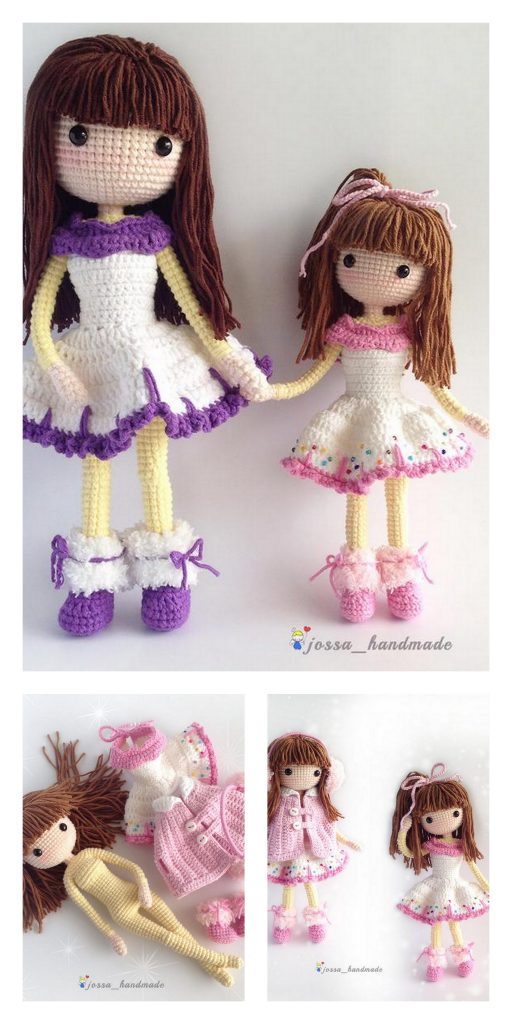
Read through this tutorial on how to attache the hair! Be sure to check out the various dolls to see how I did their hair!
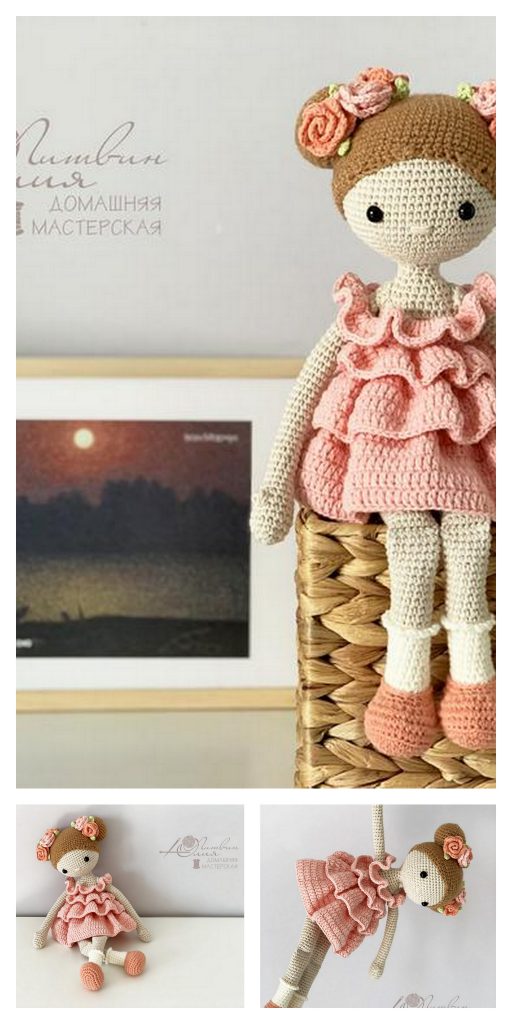
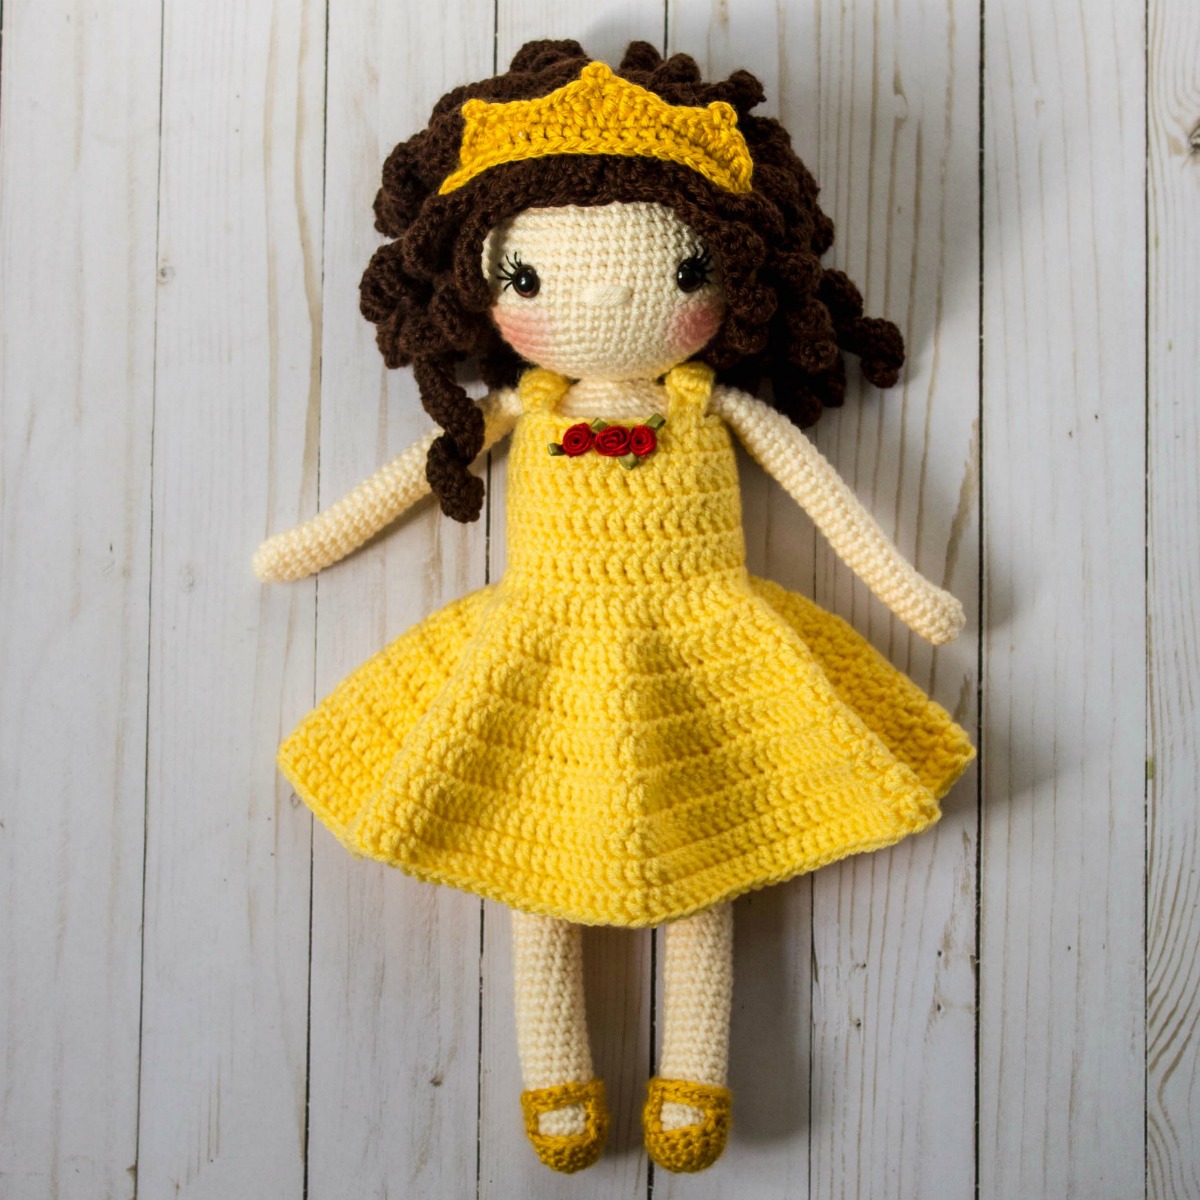
Note : The Princess Sophie Doll is about 15 inches tall and 3
inches wide (not including the arms and hair.) For Sophie, I recommend
using size 4 worsted weight yarn in whatever color you prefer. This
particular one used is Yarn Bee Soft and Sleek in Ivory. The hair is I
Love this Yarn in Brown and the dress is Yarn Bee Soft and Sleek in
Yellow. All of the clothing is removable. The roses are hand sewn and
can be found at most craft stores. Buttons, bead, and other crochet
appliques would be great here, too!
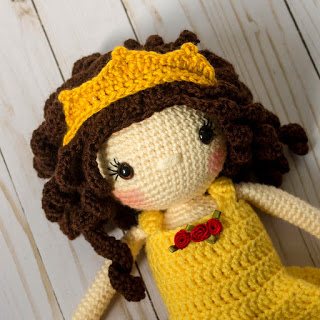
Ringlets
I made these using the pattern for the ringlets and the hair hat as outlined in this post.
Each doll takes about 30 ringlets and I evenly space them out when attaching them.
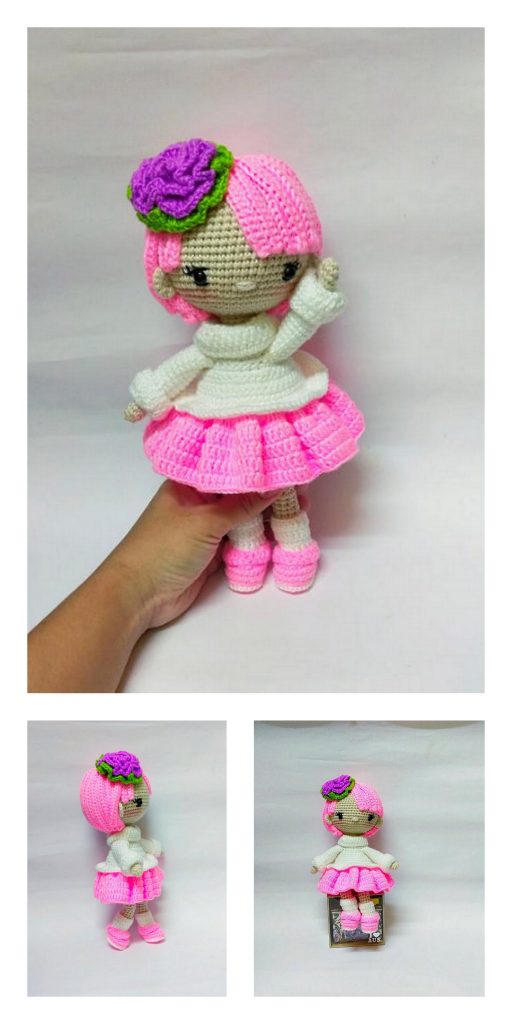
Dress
To make the dress, chain to a length that will just barely reach around the body. Due to the variations of yarn, amount of stuffing, and which hook you use, it is really difficult to give an exact number. (As a starting point, I chained 35 with my 4.0 hook.) The amount of stitches will not affect the pattern. Just make sure it will go around the doll. Double check after a few rows that you can pull it up her body. Better to frog now than cry later!
(HINT: You could also do a foundation double crochet here.)
Chain to desired length. Slip stitch together to form a ring. Double check that you did not twist the chain.
Row 1: DC in each stitch across. Sl st to the first stitch.
Row 2-5: Chain 2. DC in the same stitch. DC in each across.
Row 6: DC in each stitch across. Chain one and turn.
Row 7: *DC INC in the first, DC in the next.* Repeat * * to the end of the row.
Row 8: *DC INC in the first DC in the next 2,.* Repeat * * to the end of the row.
Row 9: *DC INC in the first, DC in the next 3.* Repeat * * to the end of the row.
Row 10: *DC INC in the first, DC in the next 4.* Repeat * * to the end of the row.
Row 11: *DC INC in the first, DC in the next 5.* Repeat * * to the end of the row.
Row 12-18: DC in each across.
Fasten off and weave in ends. Put on the doll.
Sleeves
Chain 12.
In the second chain from the hook, SC. Then HDC, DC, TC in the next 5, DC, HDC, SC.
Fasten off and sew onto the dress over the arms. Double check that they are the right distance apart, and match on the front. I tuck the ends under the dress when I sew it on.close
Slippers
Use a hook about a half size bigger than the hook you used for the doll. I used a 3.75 mm for the doll and a 4.5 mm for the slippers. They want to fit snug, so use a smaller hook if you have to. It depends on the yarn, too. When I use Caron Simply Soft I have to go down a hook size.
Round 1: In a magic circle, SC 6
Round 2: SC INC in each stitch around (12)
Rounds 3-4: SC in each stitch around. (12)
Rounds 5-7: Take your stitch marker out and chain 1. Turn and SC in the next 9. Chain 1, and turn.
Round 8: Chain 3 and slip stitch across the gap you created. SC in each stitch around. When you reach the chain 3 gap, SC in each chain across. Slip stitch into the next 3 stitches. Fasten off and weave in ends.
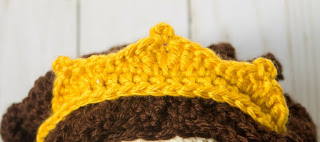
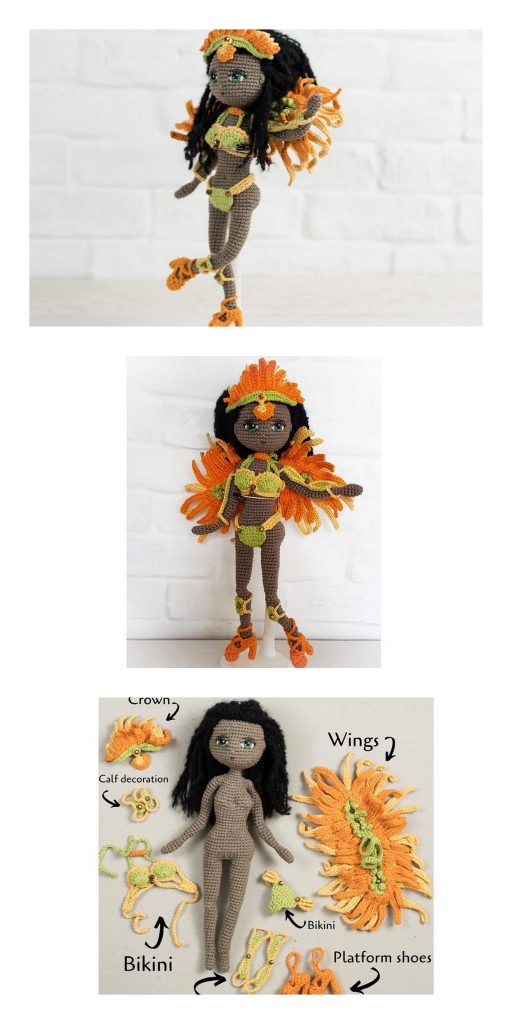
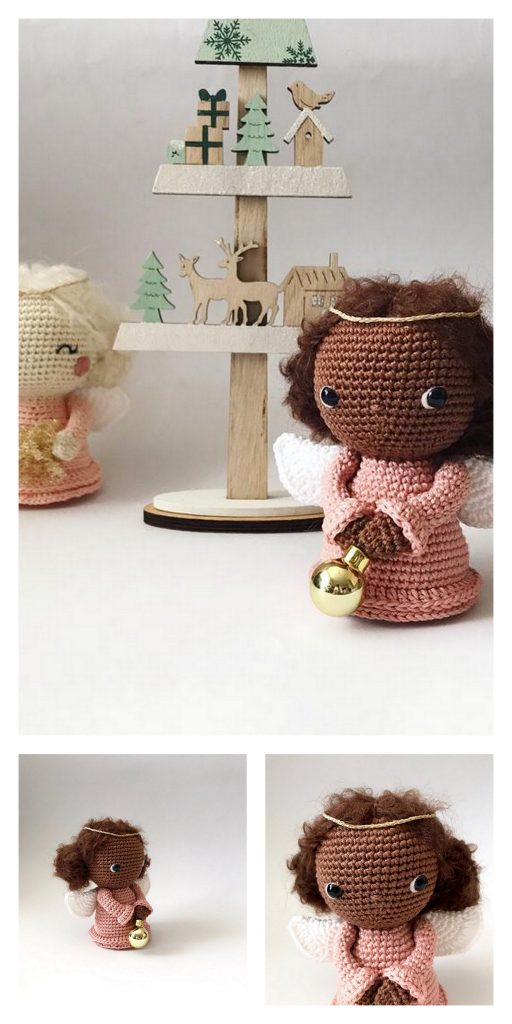
Crown
Chain to a length that will fit around the head. Due to hair, stuffing, type of yarn used it will be different. But for reference, I chained to 50. Then DC in each across. (you could also do a Foundation Double Crochet here.) Fasten off.
Fold the band in half. From the middle, count 10 stitches to the right. Attach the yarn to the tenth stitch. Begin the first triangle: HDC in the first. DC INC in the next. Chain one (make sure it is a tight chain, not too loose!). DC INC in the next, then HDC. Slip stitch in next.
Begin the middle triangle: HDC in the first. DC in the next. TC INC in the next. Chain one (make sure it is a tight chain, not too loose!). TC INC in the next, DC, then HDC. Slip stitch in next.
Begin the last triangle: HDC in the first. DC INC in the next. Chain one (make sure it is a tight chain, not too loose!). DC INC in the next, then HDC. Slip stitch in next.
Chain one and turn. Slip stitch in every stitch going back over the triangle you created. When you reach the chain 1 stitch at the top of each triangle chain 3 and slip stitch back into the same stitch. This makes the rounded bumps on the top. Then continue to slip stitch until you reach the beginning. Fasten off and weave in ends. Connect the band.
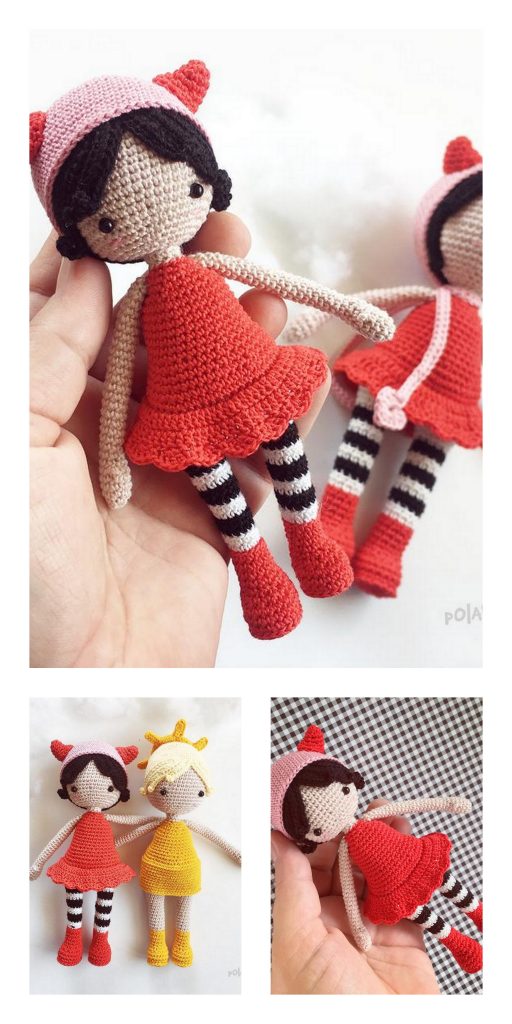
More Amigurumi Doll Ideas: