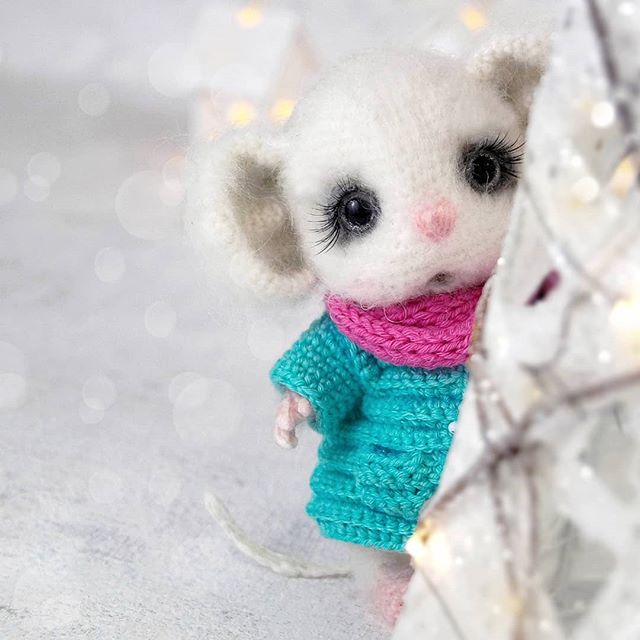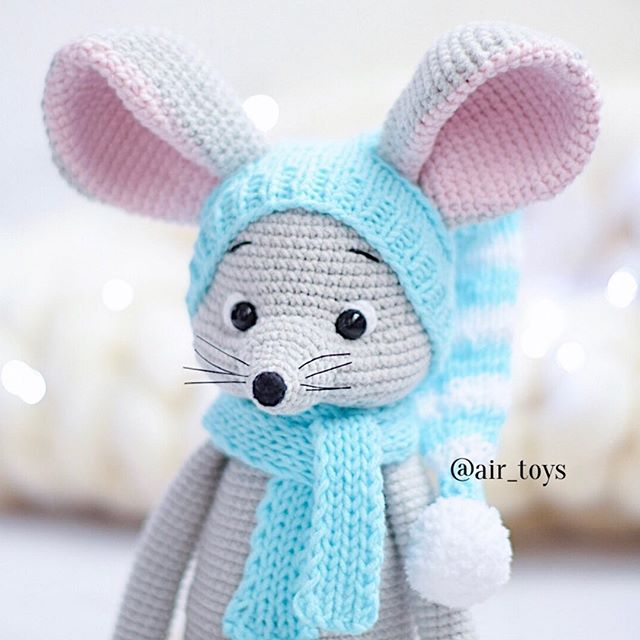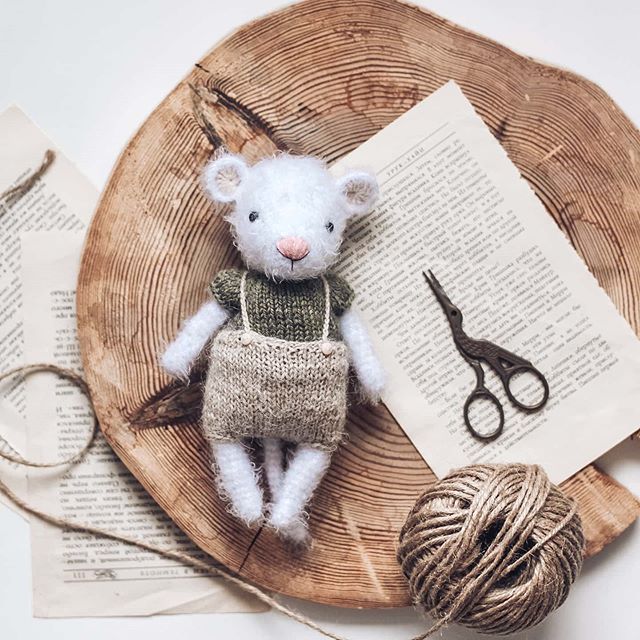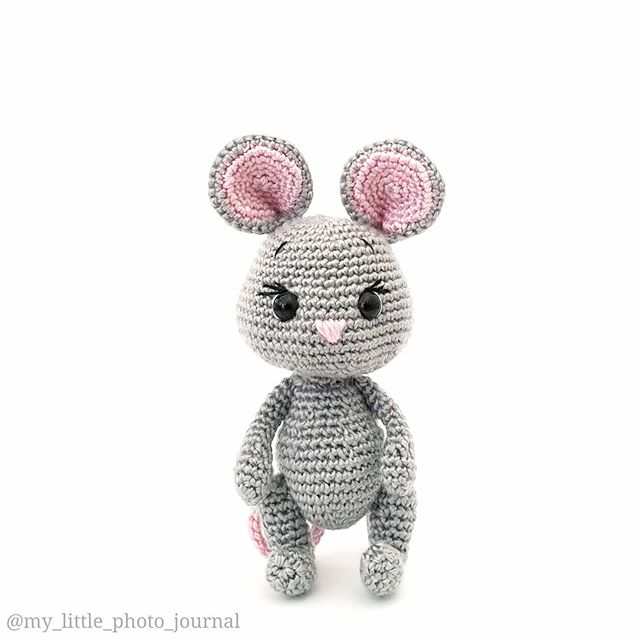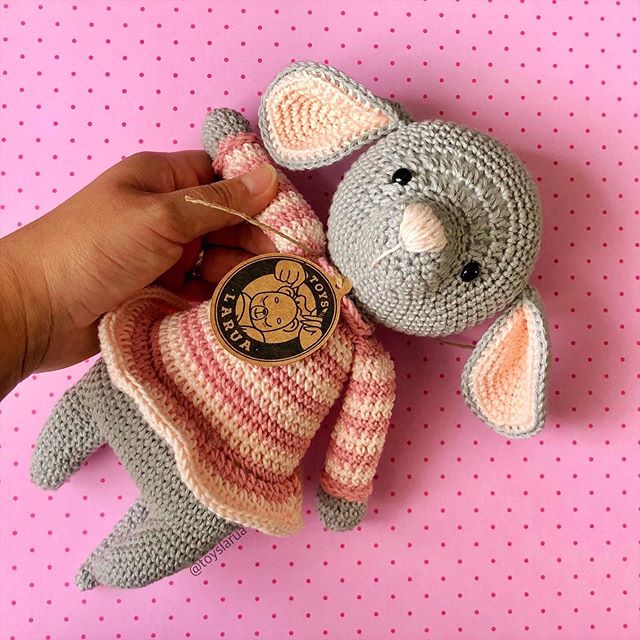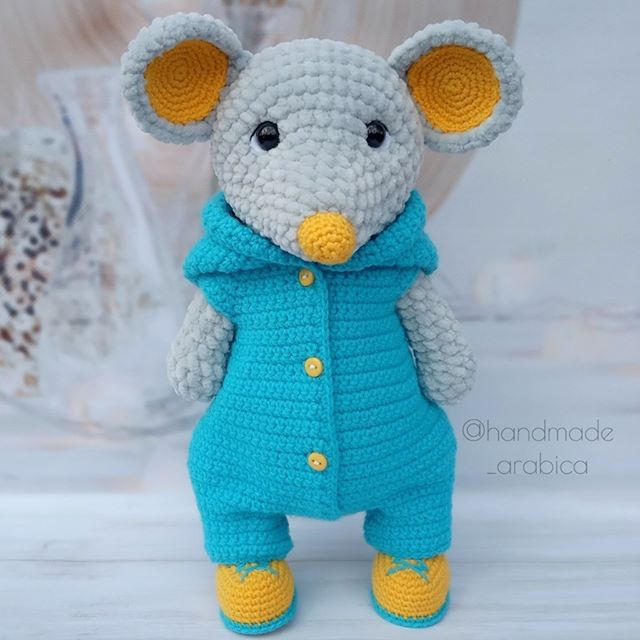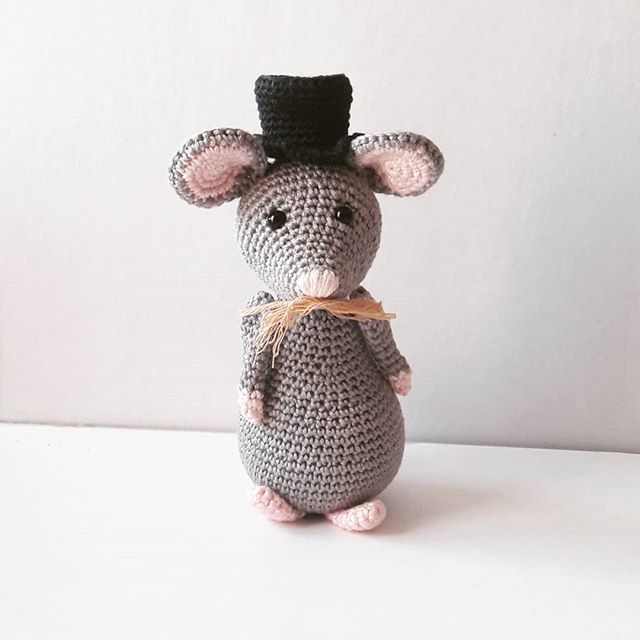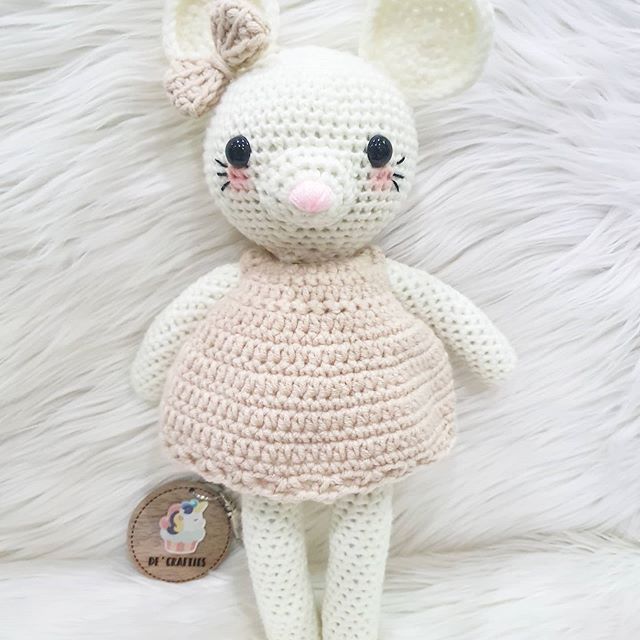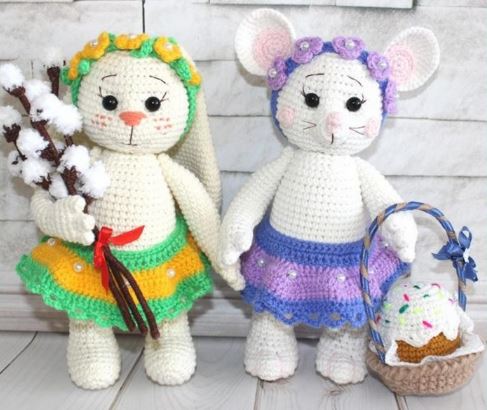
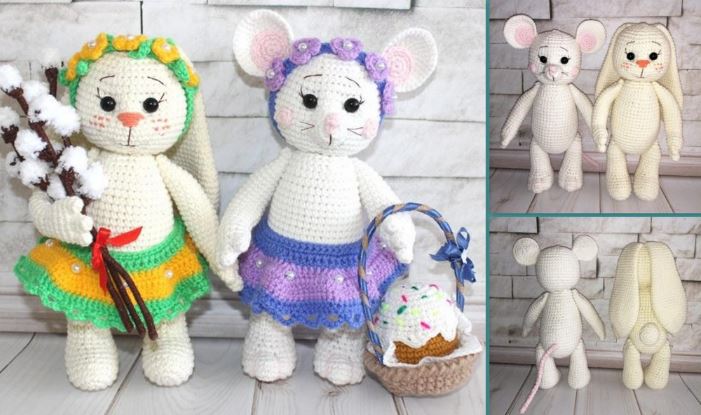
Amigurumi Spring Bunny and Mouse Free English Pattern
Hello dear visitors, I am here again with new amigurumi molds for you. I am sharing amigurumi patterns for you here for free. You can make your children happy by making these patterns. Amigurumi toys are very popular lately and are the most beautiful toys that don’t harm your kids. Your kids will love them. Let’s move on to our pattern and give them this gift.
Pattern – Svetlana Kholmanskikh
@sunnysmile_toys
Necessary materials
Yarn:
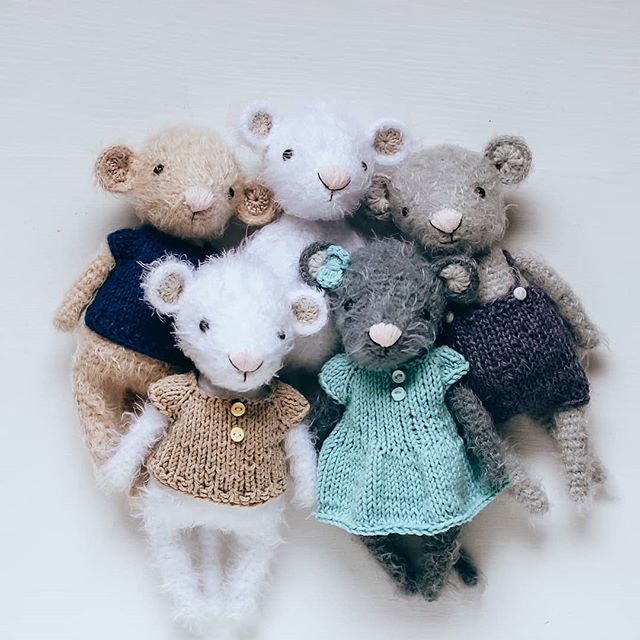
- YarnArt Jeans No. 03 milk (160 m / 50 g) – (approximately 1 skein per 1 toy). * As you can see from the photo, my kids are of different colors, but this is the same shade from different purchases
- Pink yarn for the design of the muzzle of the mouse – A little orange yarn for freckles and nose of the bunny (I have Jeans)
- For clothing, I used Pehorka Children’s novelty (200m / 50g)
- Colors for the mouse: 1) No. 567 t. Violet 2) No. 389 St. violet
- For the hare: 1) 65 exotic 2) 12 yolk
- Any brown yarn for willow twigs (I have Alize Cotton Gold)
- Alize software, white (willow buds)
- Alize Cotton Gold No. 02 mustard (300m / 100g) (Easter cake)
- YarnArt Jeans No. 01 white (160 m / 50 g) (Easter cake)
- Alize Lana Gold No. 05 beige (240m / 100 g) (basket) You can
- use any thick yarn
- Alize Bambo Fine – No. 55, white (440 m / 100g) (napkin)
- Multi-colored threads for “powder” of Easter cake
- Eyelets on a secure mount 9mm – 2pairs
- Dark brown floss for decoration muzzles
- Kapron or dental floss for stitching and tightening
- Wire (I have a copper wire with a diameter of 2 mm, in insulation).
- Approximately 40 cm for the arm frame. 26 cm – basket handle. 1 willow branch – 17 cm
- White beads 5 mm – 28 pcs.
- 2 buttons for skirts
- Thin ribbon for decorating baskets
- Hook 1.5 mm
Legend
sc – single crochet
DC– double crochet
C2H – double crochet
HDC – half crochet
ss – connecting column
inc – increase
dec – decrease
ch – air loop
ch – lifting loop
BLO – back half of a loop
Torso-head
We fill in the course of knitting
1) 6 sc into magic ring
2) 6 inc (12)
3) (1 sc, inc) * 6 (18)
4) (2 sc, inc) * 6 (24)
5) (3 sc, inc) * 6 (30)
6) (4 sc, inc) * 6 (36)
7) (5 sc, inc) * 6 (42)
8) (6 sc, inc) * 6 (48)
9-15) 7 rows 48 sc
16) 2 dec, 40 sc, 2 dec (44)
17-18) 44 sc
19) 2 sc, 2dec, 32 sc, 2 dec, 2 sc (40)
20-25) 6 rows 40 sc
26) (8 sc, dec) * 4 (36)
27) (4 sc, dec) * 6 (30)
28) (3 sc, dec) * 6 (24)
29) (2 sc, dec) * 6 (18)
We start to knit a head:
30) (1 sc, inc) * 9 (27)
31) (2 sc, inc) * 9 (36)
32) (5 sc, inc) * 6 (42)
33) (6 sc, inc) * 6 (48)
34-43) 48 sc
44) (6 sc, dec) * 6 (42)
45) (5 sc, dec) * 6 (36)
Between 40 and 41 next we insert the eyes, between the places for insertion we leave 7 columns
46) (4 sc, dec) * 6 (30)
47) (3 sc, dec) * 6 (24)
48) (2 sc, dec) * 6 (18)
49) (1 sc, dec) * 6 (12)
50) 6 dec. Pull off, cut the thread.
** If you will not make a face muzzle, it is better to insert the eyes below
Legs
Until the 15th row, we stuff tightly, from the 16th, where there is an expansion, not tightly.
1) 10 ch +2 ch
2) We start knitting in the 3rd loop from the hook: 9 sc, 3 sc in 1 loop, on the back of the chain: 8 sc, inc (22)
3) inc, 8 sc, 3 inc, 8 sc, 2 inc (28)
4) 1 sc, inc, 8 sc, (1 sc, inc) * 3, 8 sc, (1sc, inc) * 2 (34)
5) 34 sc
6) 9 sc, (dec, 3 sc) * 2, dec, 13 sc (31)
7) 8 sc, (dec, 3 sc) * 2, dec, 11 sc (28)
8) 28 sc
9) 7 sc, (dec, 1 sc) * 3, dec, 10 sc (24)
10) (2 sc, dec) * 6 (18)
11-15) 5 rows 18 sc
16) (2 sc, inc) * 6 (24)
17-19) 3 rows 24 sc
20) (2 sc, dec) * 6 (18)
21) (1, sc, dec) * 6 (12)
22) 6 dec, pull off, cut the thread.
Tie the second leg in the same way.
Pens
Fingers:
One detail is large:
1) 5 sc into magic ring
2) 5 sc, fasten the thread, cut 2 small parts:
1) 5 sc into magic ring
2) 5 sc,
3) 5 sc, fasten the thread, cut it off At the second part, do not cut the thread, continue to knit on it and connect the fingers in the palm of your hand:
1) 3 sc for a small part, 3 sc for a large, 5 sc for a second small part, 2 sc for a large, 2 sc for a small (circle closed)
2-4) 3 rows 15 sc
5) (3 sc, dec) * 3 (12)
6) 12 sc
7) (3 sc, inc) * 3 (15)
We fill the brush tightly, the rest of the hand quite a bit, just to keep the shape.
8-20) 13 rows 15 sc
21) (3 sc, dec) * 3 (12)
We insert wires with curved edges along the length of the arm
22) (2 sc, dec) * 3 (9)
23) (1 sc, dec) * 3 (6) pull off, cut the thread.
Tie the other hand in the same way
Bunny ears
1) 4 sc into magic ring
2) 4 inc (8)
3) (1 sc, inc) * 4 (12)
4) 1 sc, inc, (2 sc, inc) * 3, sc (16)
5) (3 sc, inc) * 4 (20)
6) 2 sc, inc, (4 sc, inc) * 3, 2 sc (24)
7) (5 sc, inc) * 4 (28)
8) (6 sc, inc) * 4 (32)
9) 32 sc
10) (7 sc, inc) * 4 (36)
11-16) 6 rows 36 sc
17) (dec, 16 sc) * 2 (34)
18) 34 sc
19) (dec, 15 sc) * 2 (32)
20) 32 sc
21) (dec, 14 sc) * 2 (30)
22) 30 sc
23) (dec, 13 sc) * 2 (28)
24) 28 sc
25) (dec, 12 sc) * 2 (26)
26) 26 sc
27) (dec, 11 sc) * 2 (24)
28-29) 24 sc
30) (dec, 10 sc) * 2 (22)
31-33) 22 sc
34) (dec, 9 sc) * 2 (20)
35) 20 sc
36) (dec, 8 sc) * 2 (18)
37) 18 sc
38) (dec, 7 sc) * 2 (16)
39) 16 sc
40) (dec, 6 sc) * 2 (14)
41) Fold the eyelet, 7 sc
Tie the second
Mouse ears
The main color, two details:
1) 6 sc into magic ring
2) 6 inc (12)
3) (1 sc, inc) * 6 (18)
4) (2 sc, inc) * 6 (24)
5) (3 sc, inc) * 6 (30)
6) (4 sc, inc) * 6 (36)
In pink (inside of the eyelet), two details:
1) 6 sc into magic ring
2) 6 inc, (12)
3) (1 sc, inc) * 6 (18)
Mouse face
Primary color:
1) 6 sc into magic ring
2) 6 inc (12)
3) 12 sc
4) (1 sc, inc) * 6 (18)
5) 18 sc
Mouse tail
Pink:
1) 4 sc into m agic ring
2-21) 4 sc
Cheeks
Pink:
8 sc into magic ring
2 details
Nose
Pink:
1) 5 sc into magic ring
2) 5 sc
3) 2 dec, pull off, cut the thread, hide
Hare tail
Primary color:
1) 6 sc into magic ring
2) 6 inc (12
3) (1 sc, inc) * 6 (18)
4) 2 sc, inc from HDC, 1 DC, inc from HDC, 1 sc, 1 sl-st (now this is the end of the row)
5) Per BLO: 20 sc
6) 20 sc
7) (2 sc, dec) * 5 (15)
Stuff the tail
8) 1 sc, 7 dec (8)
9) 2 dec, pull off
We collect toys. Sew legs and handles with thread mount
Muzzle
1) Fix the thread on the back of the head
2) Insert the needle in the same place, withdraw near the eye
3) Insert the needle under the eye, remove it on the back of the head, pull it off,
fasten, repeat the tightening with the second eye. We fix the thread, cut it, hide it.
Making muzzles
To make a mustache, thread a mouline thread into the needle. In the right place, grab the needle with 1 needle of the column, make a knot, cut the thread to the desired length of the antennae. Hide the knot
Embroider the nose with a thick orange thread (YA Jeans),
Then we make freckles with it
Skirt
Children’s novelty, first color:
We knit in reverse rows
1) Dial 55 ch + 2 ch
2) 55 sc
3) 55 DC, cut the thread, change the color of the yarn
* On the skirt for the bunny you need a hole for the tail, on the skirt of the mouse – it is not necessary, therefore, there will be 2 options for knitting 4 and 5 rows. Rows for the hare skirt will be highlighted in red.
Yarn of the second color:
4) ([2 DC, 2 ch, 2 DC] -in 1 loop, 5 sc) * 8, [2 DC, 2 ch, 2 DC] -in 1
loop, 6 DC
4) 3DC, ([2 DC, 2 ch, 2DC] -in 1 loop, 5 sc) * 8, [2 DC, 2 ch, 2DC] -in
1 loop, 4 DC
5) 8DC, (3 DC to the arch from the ch of the last row, 9 DC) * 8,
connecting column connect the end to the beginning of the row and
Now we will knit in a circle.
5) 4 sl-st along the canvas, 3 ch, 2 DC, (3 DC into the arch, 9 DC) * 8, 3 DC into the arch, 2 DC, 6 ch, connect to the beginning of the row, now we will knit in a circle.
Then the skirts again knit equally, in a circle. At the end of the row, do sl-st, at the beginning of 2 ch:
6) 109 sc, fasten the thread, cut it off.
We knit again in the first color:
7) 109 DC
8) 1 sc, (1 sc, 5 ch, 2 n skip, 1 sc) * repeat to the end of the row.
Finish knitting.
Sew a button and make a buttonhole from ch. Decorate the skirt
beads
Bezel
First color:
1) 50 ch connect into a ring
2) 50 DC, finish knitting.
Flowers (5 pcs)
second color:
For the rim of the Bunny
İNTO MAGİC RİNG: (2 DC, 1 sl-st, 1 ch) * 5
Leaf (8 pcs)
Green:
1) Dial 7 ch
2) 1 sl-st, 4 sc
For the rim of the mouse:
İNTO MAGİC RİNG: (4 DC, 1 sl-st, 1 ch) * 3
Sew flowers with beads to the rim
Willow
We knit buds (I have 5 pcs per 1 branch)
Alize software:
1) 6 sc into magic ring
2) 6 sc, thread cut
Brown thread:
3) 6 sc
4) (1 sc, dec) * 2, cut the thread,
hide
We make a twig:
Wrap the wire with a length of 17 cm with a brown thread, fixing it at the beginning and at the end with fabric glue. Glue the kidneys.
Kulich
1 item:
Yarn Alize Cotton Gold, mustard
1) 8 sc into magic ring
2) 8 inc (16)
3) (1 sc, inc) * 8 (24)
4) (2 sc, inc) * 8 (32)
5) Per BLO: 32 sc
6-12) 7 rows 32 sc, cut the thread.
2 detail:
Yarn Yarnart Jeans, white:
1) 8 sc into magic ring
2) 8 inc (16)
3) (1 sc, inc) * 8 (24)
4) (2 sc, inc) * 8 (32)
5-6) 32 sc
7) (7 sc, inc) * 4 (36)
8-9) 36 sc
10) 2 ch, 2 C2H, 2 ch, 2 sc, 1DC, 2 sc, 2 ch, 1 C2H, 1 DC, 2 sc, 1 sl-st, 1 sc, 2 ch, 1 C2H, 2 ch, 3 sc , 1 sl-st, 1 DC, 1 C2H, 1 DC, 2 sc, 1 sl-st, 1 sc, 2 DC, 2 sc, 1 sl-st, cut the thread.
Embroider powder, fill, sew parts
Basket
Alize Lana Gold yarn, beige:
1) 8 sc into magic ring
2) 8 inc (16)
3) (1 sc, inc) * 8 (24)
4) (2 sc, inc) * 8 (32)
5) Per BLO: 32 sc
6) (7 sc, inc) * 4 (36)
7) 36 sc
8) Tie with a crustacean step, cut the thread, hide.
Wrap the wire for the handle with the same yarn, at the beginning and end, fix with glue.
Bend into the desired shape, so that it is better to hold on first to glue, then sew to the basket, wrap with ribbon, decorate with a bow.
Napkin
Alize Bambo Fayn – No. 55, white (or any thin yarn)
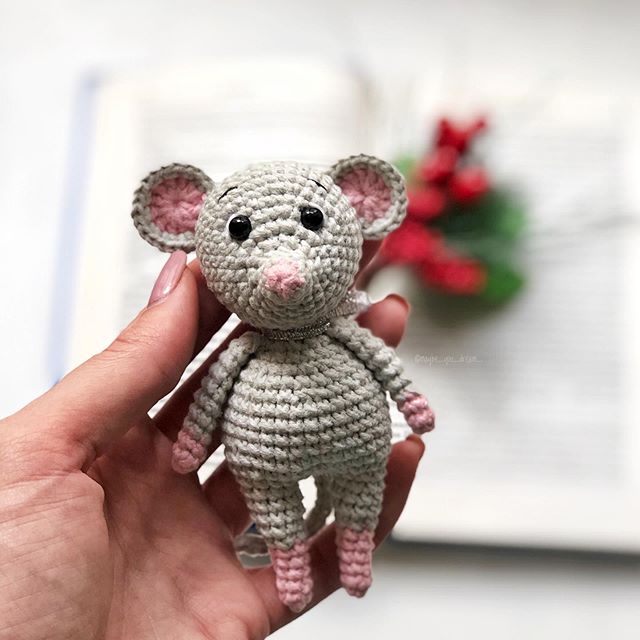
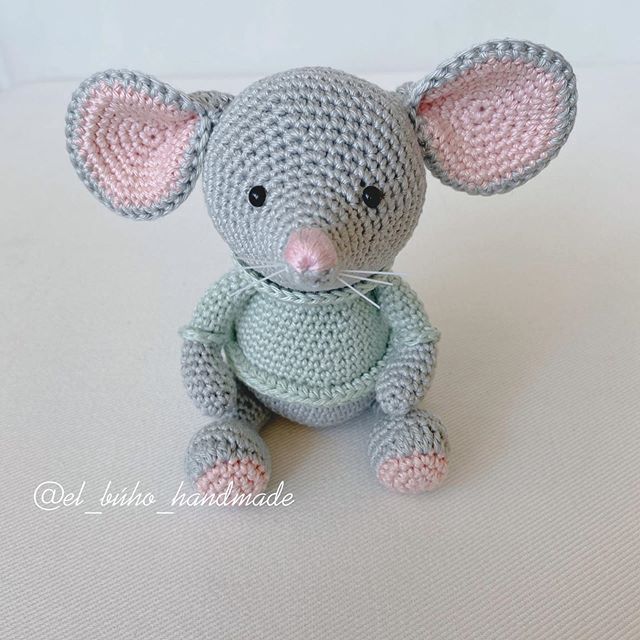
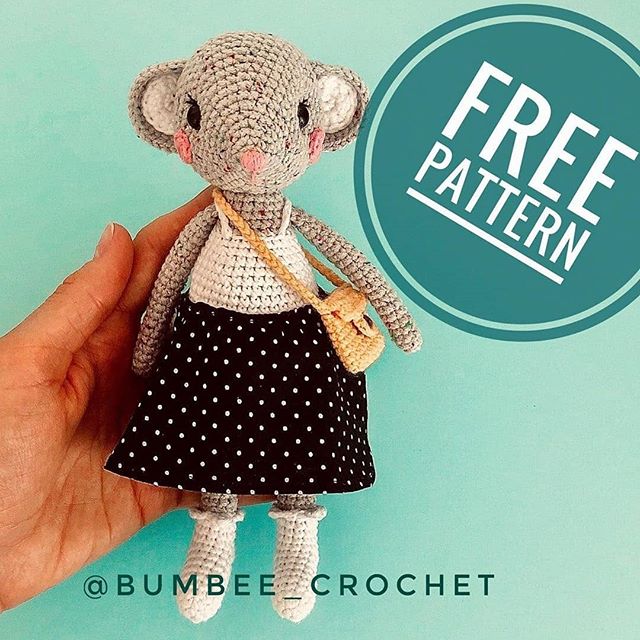
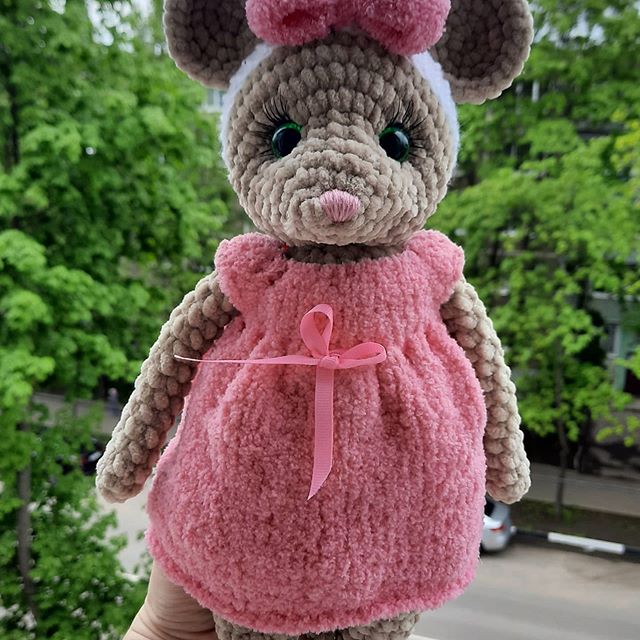
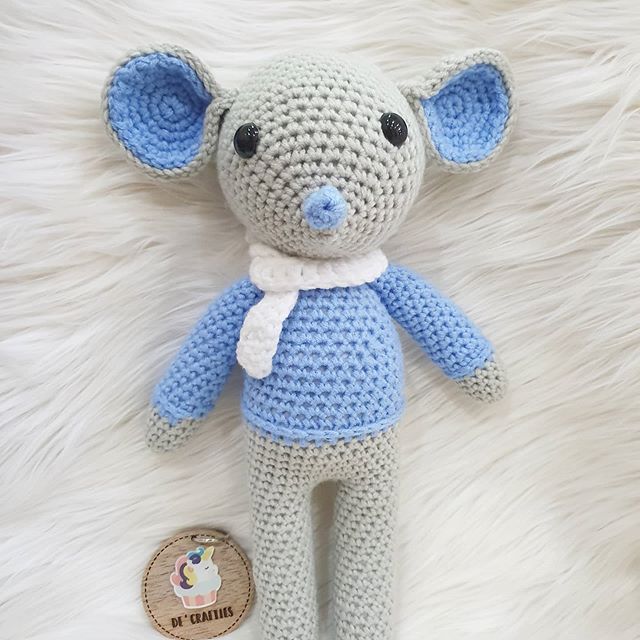
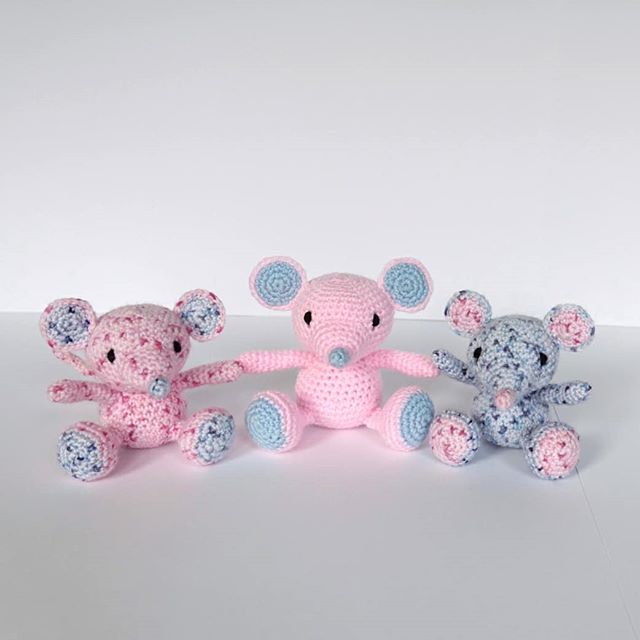
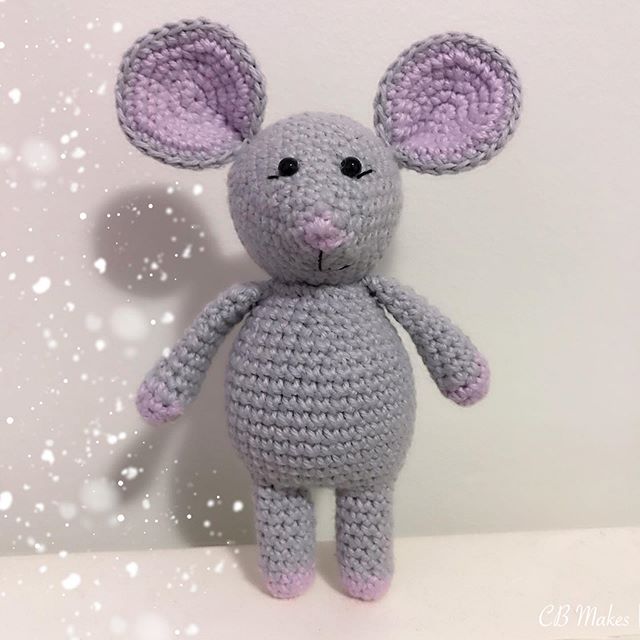
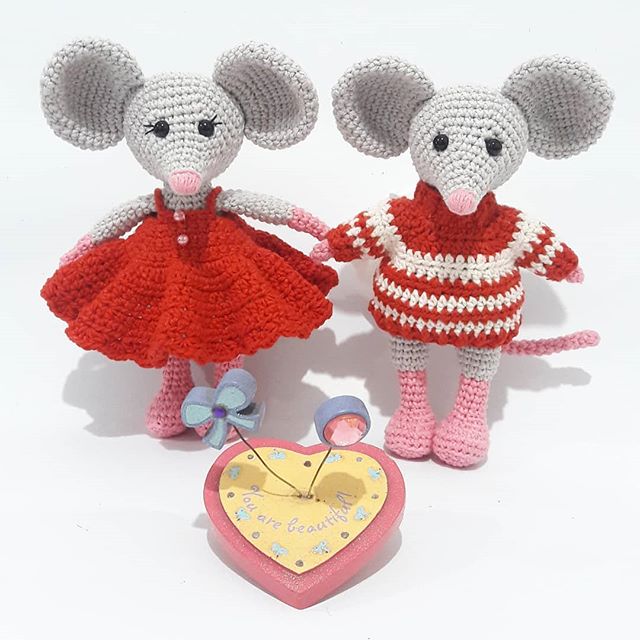
More Amigurumi Mouse Ideas: