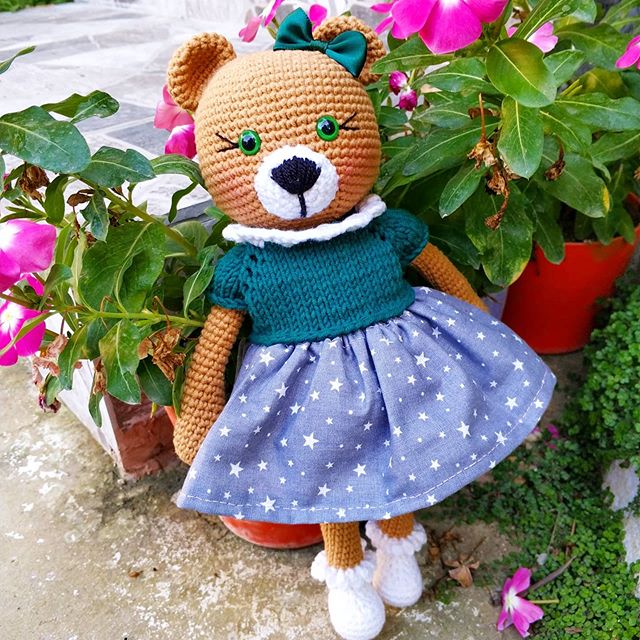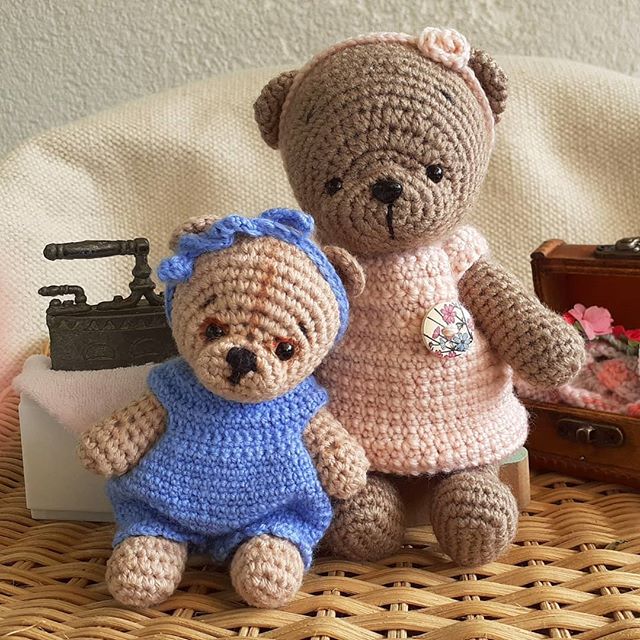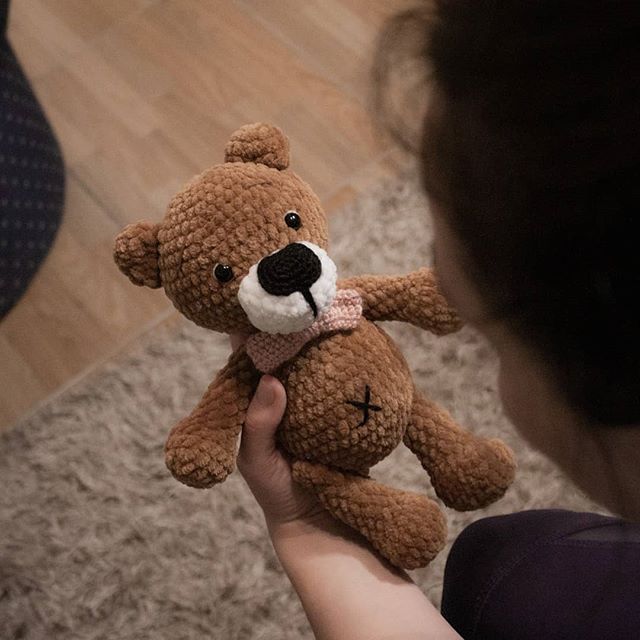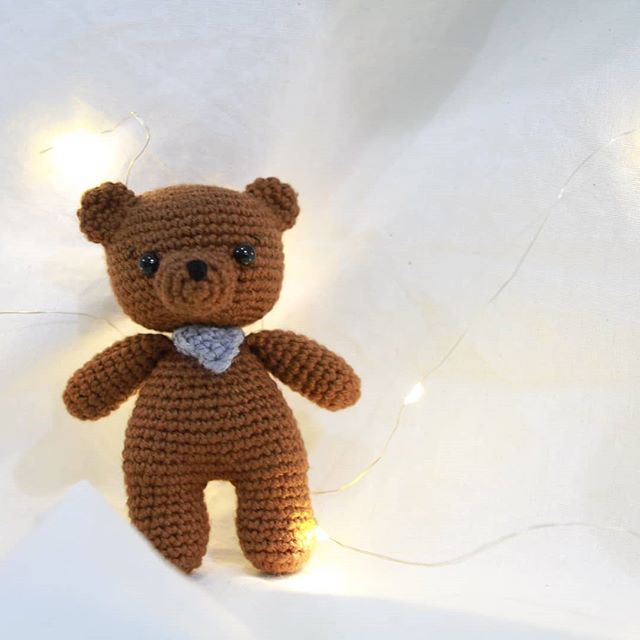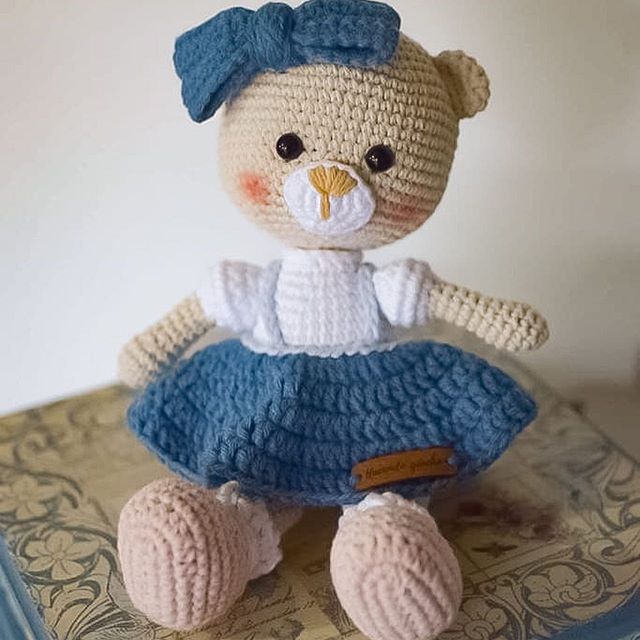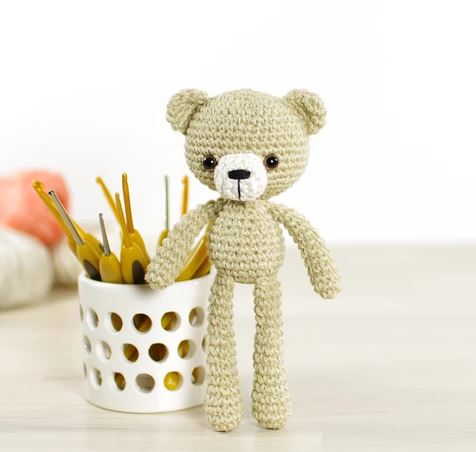
Small Teddy Bear Amigurumi Free Pattern
Hello dear visitors, I am here again with new amigurumi molds for you. I am sharing amigurumi patterns for you here for free. You can make your children happy by making these patterns. Amigurumi toys are very popular lately and are the most beautiful toys that don’t harm your kids. Your kids will love them. Let’s move on to our pattern and give them this gift.
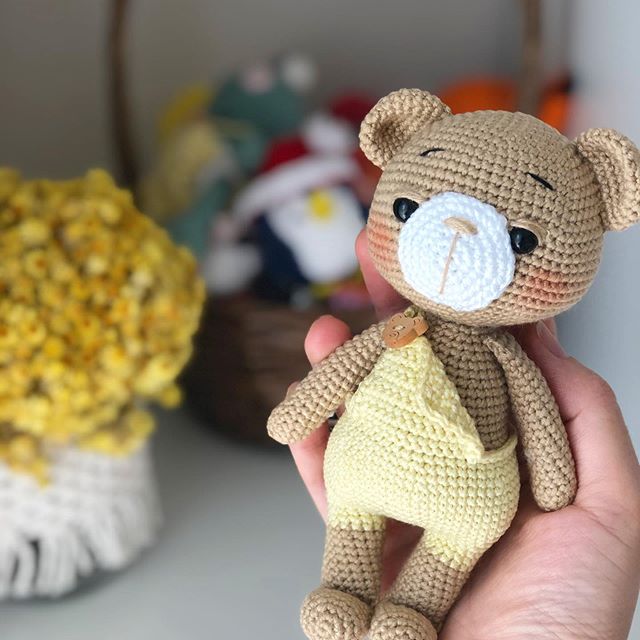
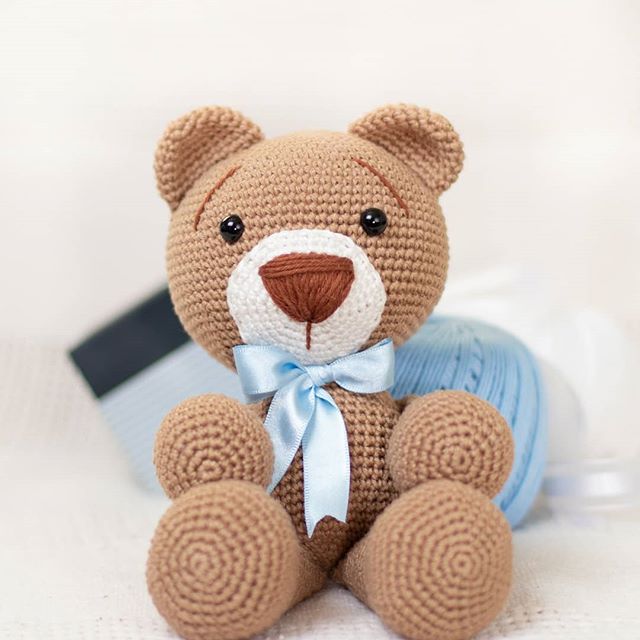
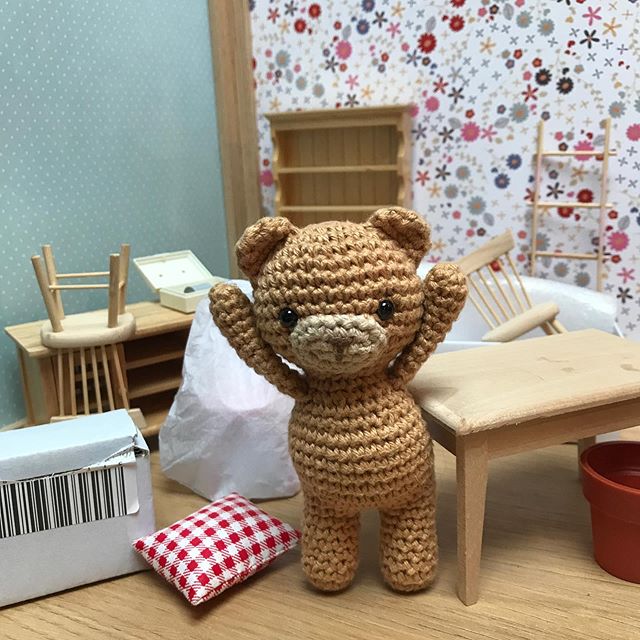
Size
About 15 cm (6″) tall, when crocheted with DK weight cotton and linen blend (50g = 112) and a 2,50 mm crochet hook (US size 2/C).
Difficulty
2. Beginner – suitable for novice crocheters, includes small details.
You will need
- Yarn. I used DK weight cotton and linen blend, 50g = 112m (50g = 123yd) / 8 ply / 11 wpi. You will need about 12 g of beige and just a few grams of white yarn.
- 2,25 – 3,50 mm crochet hook (US hook size 2/C – 4/E) or according to the yarn.
- Polyester fiberfill, wool, wadding etc. for stuffing.
- Cotton embroidery floss.
- 8 mm safety eyes or buttons, beads, felt etc.
- Yarn needle, scissors, stitch marker.
Abbreviations
- mr, sc n = magic ring – crochet n single crochet stitches into the adjustable loop.
- sl st = slip stitch.
- sc = single crochet stitch (double crochet stitch in UK and Australia).
- sc n = crochet one sc in each of the next n stitches.
- inc = increase – crochet two single crochet stitches in the same stitch.
- dec = decrease – crochet two stitches together using the invisible decrease method.
- (sc 4, inc) x n = repeat the pattern between parentheses n times.
- [36] = number of stitches in a round after finishing round.
Notes
- Work in a continuous spiral, do not join rounds or turn your work, unless instructed otherwise in the pattern.
- Use a stitch marker or a piece of yarn to mark the end or the beginning of a round. Move the marker up after completing each round.
- All stitches are worked into both loops, unless instructed otherwise in the pattern.
Head
Round 1: mr, sc 6 = [6]
Round 2: inc x 6 = [12]
Round 3: (sc, inc) x 6 = [18]
Round 4: (inc, sc 2) x 6 = [24]
Round 5: (sc 3, inc) x 6 = [30]
Round 6: sc, inc, (sc 4, inc) x 5, sc 3 = [36]
Round 7: (sc 5, inc) x 6 = [42]
Rounds 8-14: sc in each stitch = [42]
Round 15: (sc 5, dec) x 6 = [36]
Attach the safety toy eyes between rounds 12 and 13, leaving 7 stitches (count 6 holes) between them.
Start stuffing the head. Keep adding a bit of fiberfill after every few rounds, stuffing the head firmly.
Round 16: sc, dec, (sc 4, dec) x 5, sc 3 = [30]
Round 17: (sc 3, dec) x 6 = [24]
Round 18: (dec, sc 2) x 6 = [18]
Round 19: (sc, dec) x 6 = [12]
Cut the yarn, leaving a long yarn tail for sewing, and fasten off. Finish stuffing the head.
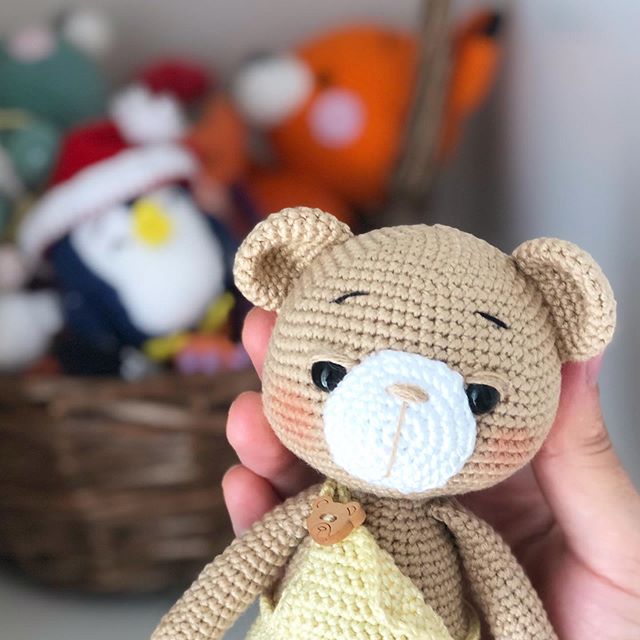
Muzzle
Round 1: mr, sc 6 = [6]
Round 2: (inc3 x 2, sc) x 2 = [14]
Rounds 3-4: sc in each stitch = [14]
Cut the yarn, leaving a long yarn tail for sewing, and fasten off. Sew the muzzle to the head with whip stitch.
Tip! It is difficult to stuff a large open piece. Start pinning the muzzle to the head and add stuffing as you go.
Ears
Round 1: mr, sc 6 = [6]
Round 2: inc x 6 = [12]
Rounds 3-4: sc in each stitch = [12]
Cut the yarn, leaving a long yarn tail for sewing, and fasten off. Do not stuff the ears. Flatten the ears and sew them to the head, placing them just below round 3.
Tip! Sew the muzzle and ears to the head and embroider the nose before you sew the head to the body – this way you can fasten all yarn tails securely with a knot under the head.
Body
Round 1: mr, sc 6 = [6]
Round 2: inc x 6 = [12]
Round 3: (sc, inc) x 6 = [18]
Round 4: (inc, sc 2) x 6 = [24]
Rounds 5-8: sc in each stitch = [24]
Round 9: (dec, sc 10) x 2 = [22]
Round 10: (sc 3, dec) x 4, sc 2 = [18]
Round 11: sc in each stitch = [18]
Round 12: (dec, sc 7) x 2 = [16]
Round 13: (sc 2, dec) x 4 = [12]
Fasten off and hide the yarn tail. Stuff the body firmly. Sew the head to the body using mattress or whip stitch. Add a bit more stuffing before closing the seam.
Arms (make 2)
Round 1: mr, sc 6 = [6]
Round 2: (inc, sc) x 3 = [9]
Rounds 3-5: sc in each stitch = [9]
Round 6: sc 3, dec, sc 4 = [8]
Stuff the hands firmly. Keep adding a bit of fiberfill after every few rounds, stuffing the arms lightly about 2/3 way up.
Rounds 7-8: sc in each stitch = [8]
Round 9: sc 3, dec, sc 3 = [7]
Rounds 10-11: sc in each stitch = [7]
Round 12: sc 3, dec, sc 2 = [6]
Round 13: sc in each stitch = [6]
Round 14: sc 3, flatten the top and crochet over the opening.
Cut the yarn, leaving a long yarn tail for sewing, and fasten off. Sew the arms to the sides of the body, one row below the head.
Legs (make 2)
Round 1: mr, sc 6 = [6]
Round 2: inc x 6 = [12]
Round 3: sc in each stitch = [12]
Round 4: sc 4, dec, sc 6 = [11]
Round 5: sc in each stitch = [11]
Round 6: sc 4, dec, sc 5 = [10]
Stuff the feet firmly. Keep adding a bit of fiberfill after every few rounds, stuffing the legs lightly.
Rounds 7-8: sc in each stitch = [10]
Round 9: sc 4, dec, sc 4 = [9]
Rounds 10-11: sc in each stitch = [9]
Round 12: sc 4, dec, sc 3 = [8]
Rounds 13-16: sc in each stitch = [8]
Left leg
Round 17: sc 3, flatten the top and crochet over the opening.
Right leg
Round 17: sc 5, flatten the top and crochet over the opening.
Cut the yarn, leaving a long yarn tail for sewing, and fasten off. Sew the legs to the body just above round 3 and more towards the front of the body, leaving 4 – 5 stitches (count 3 – 4 holes) between them.
Finish sewing and hide all yarn tails. And done!
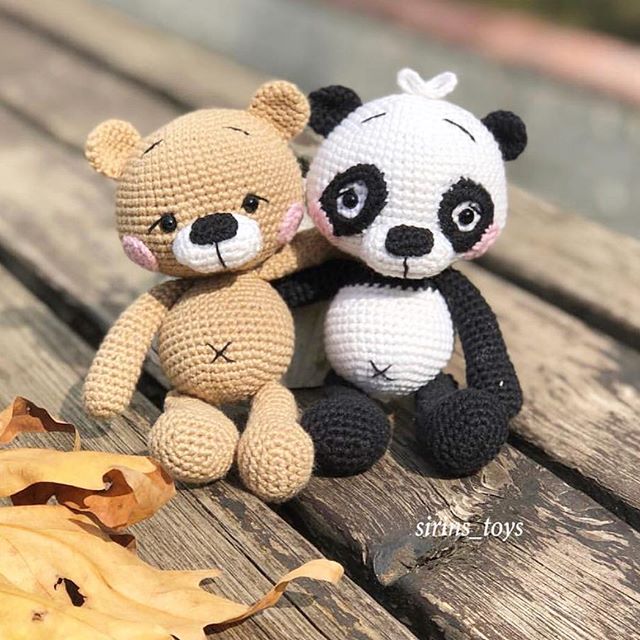
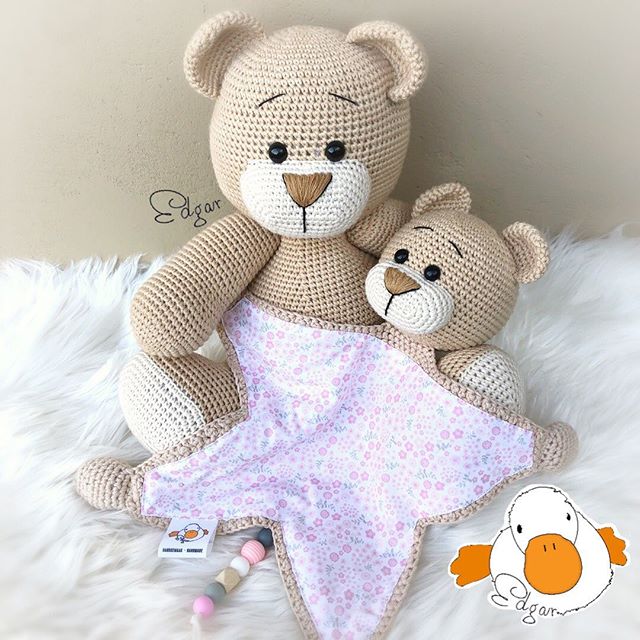
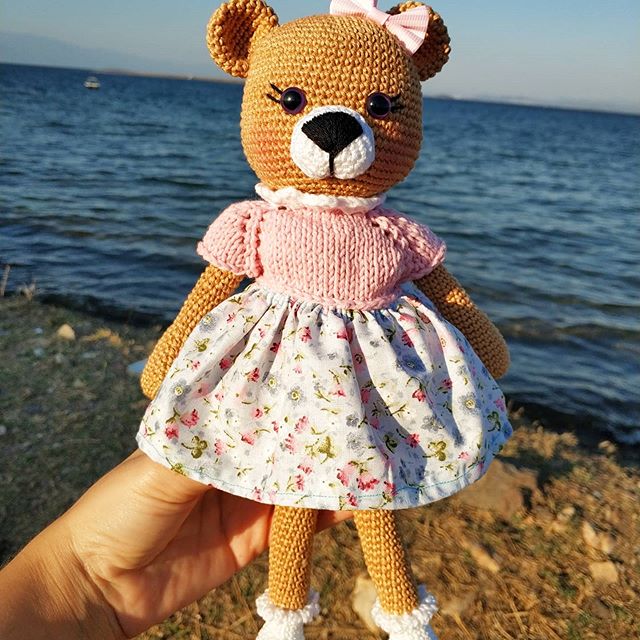
More Amigurumi Bear İdeas