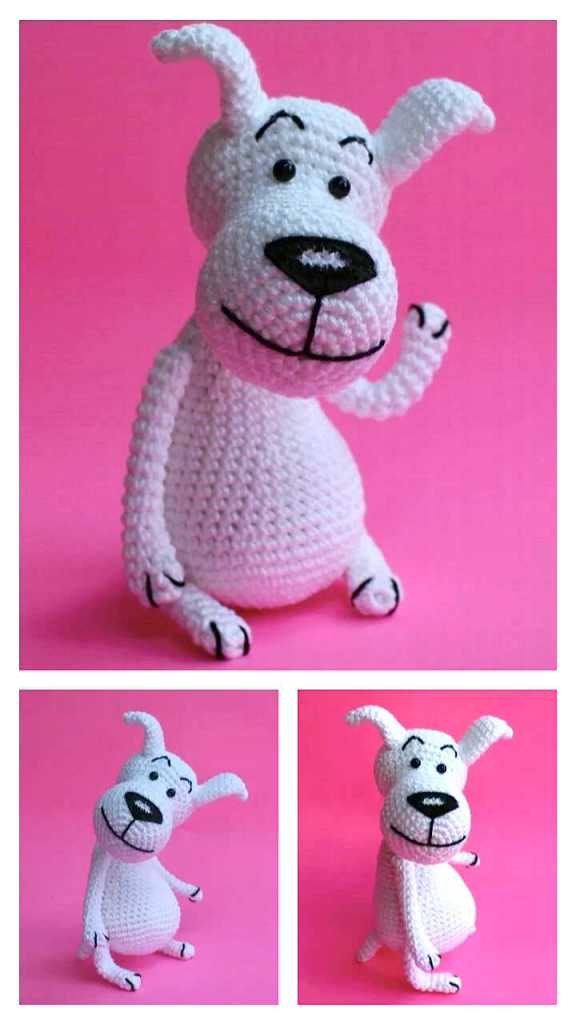
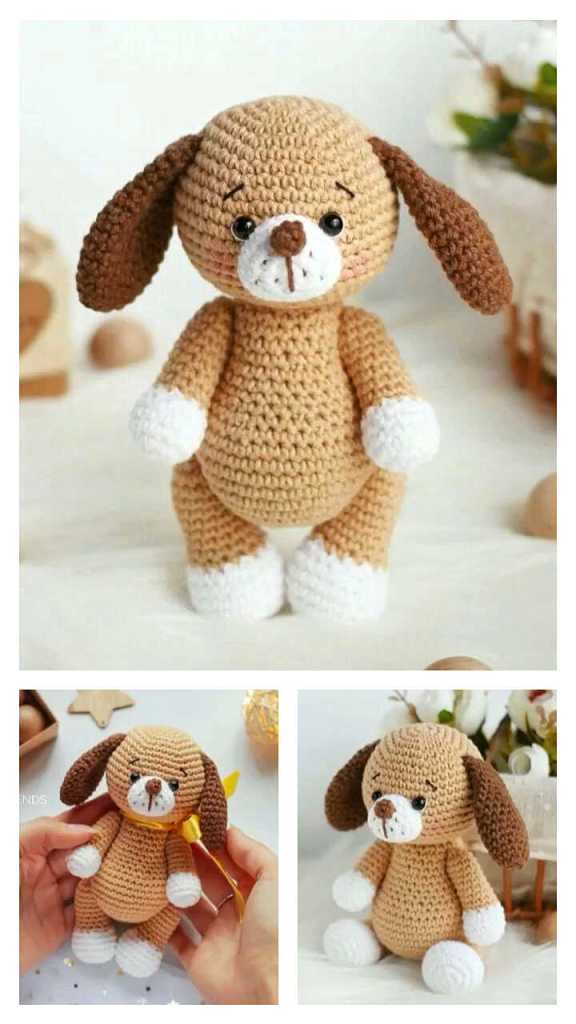
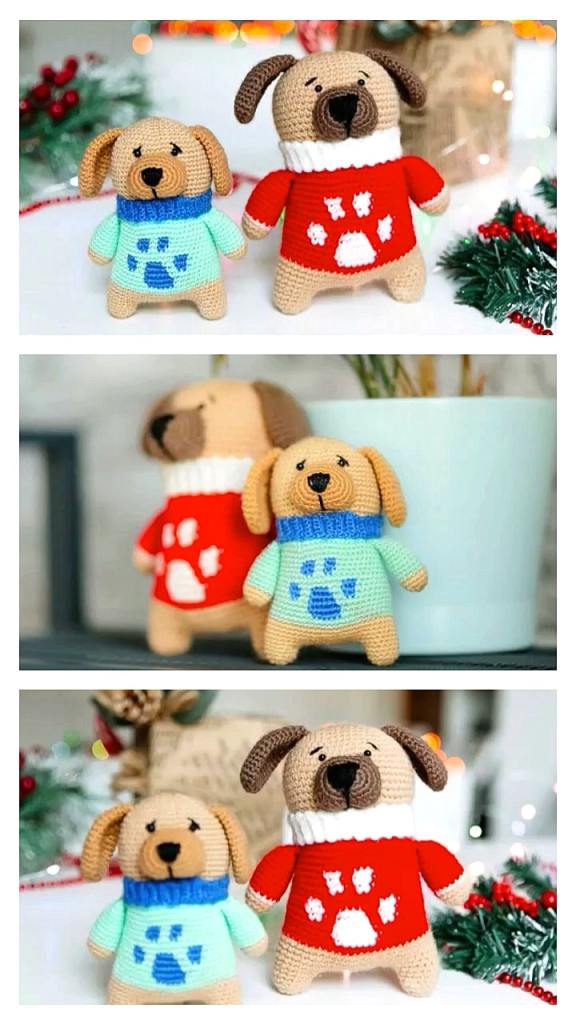
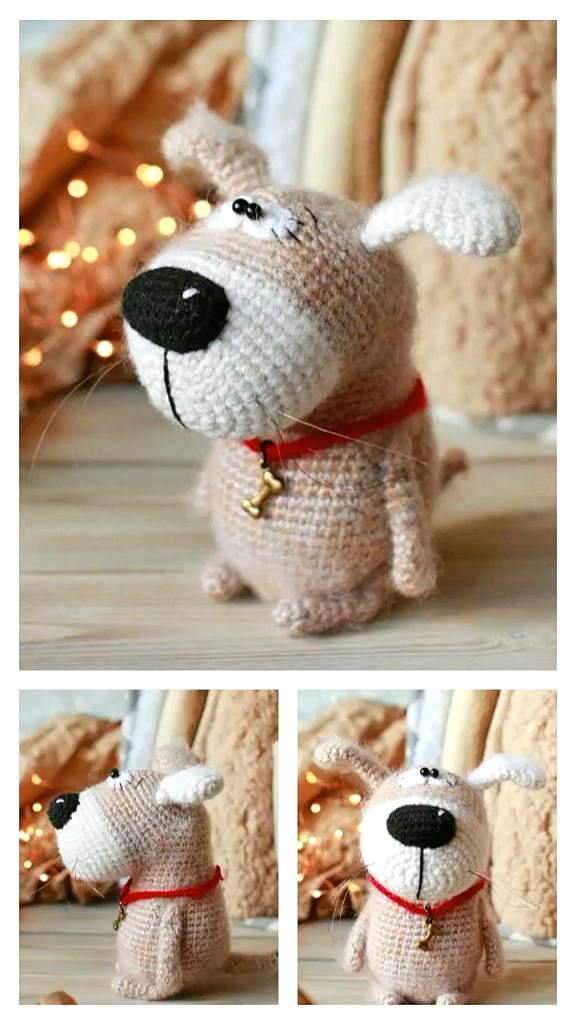
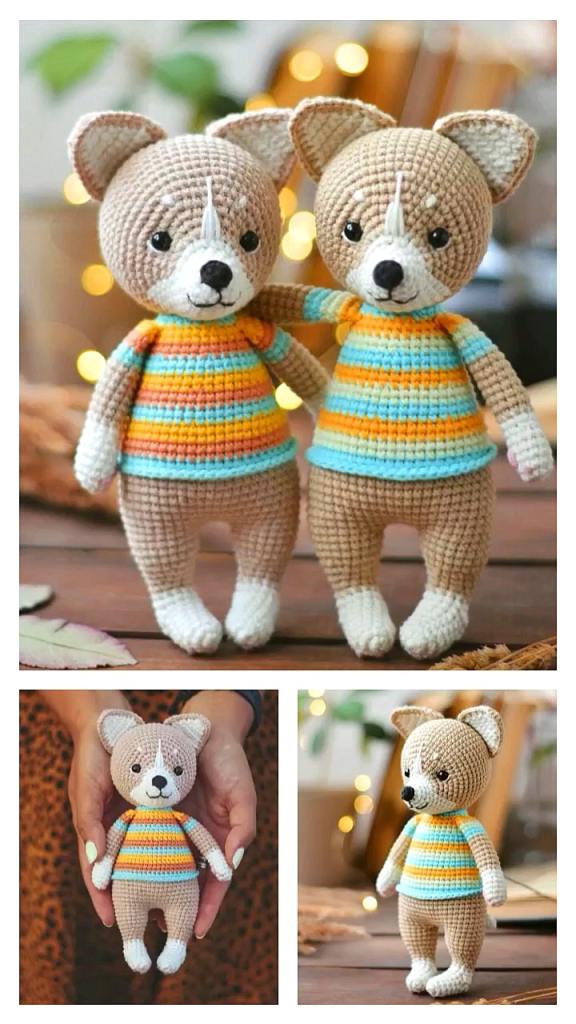
Amigurumi Puppy Dog Free Pattern
Hello dear visitors, I am here again with new amigurumi molds for you. I am sharing amigurumi patterns for you here for free. You can make your children happy by making these patterns. Amigurumi toys are very popular lately and are the most beautiful toys that don’t harm your kids. Your kids will love them. Let’s move on to our pattern and give them this gift.
Materials
Paintbox Yarns Cotton Aran in Banana Cream, Mustard Yellow, Duck Egg Blue, Sailor Blue, Coffee Bean, and Champagne White
3.5mm Crochet Hook
6mm Safety Eyes and Matching Backings
Scissors
Darning Needle
Locking Stitch Markers (Optional)
Pins
Polyfil Stuffing or Scrap Yarn
Black or Dark Grey Embroidery Thread
Fabric Glue (This is optional, but I use it to glue down the exposed tail ends from the satchel strap and envelope)
Abbreviations
st(s): stitch(es)
ch: chain
sl st: slip stitch
sc: single crochet
hdc: half double crochet
dc: double crochet
inc: two single crochet in one stitch
dec: invisible decrease, single crochet two stitches together through the front loops only
BLO: crochet only in the back loops (loop away from you) of each stitch
sk next # st/ch: skip the next number of stitches or chains and work the next step into the st/ch after the ones you skipped
ch sp: chain space, the space you create when you chain and skip stitches
(…) x #: repeat anything in the parenthesis however many times the number indicates
[#]: total number of stitches for that row
#sc/dc: one sc/dc in the following # stitches
sc/hdc/dc#: sc/hdc/dc # times in one stitch
turn: turn your work
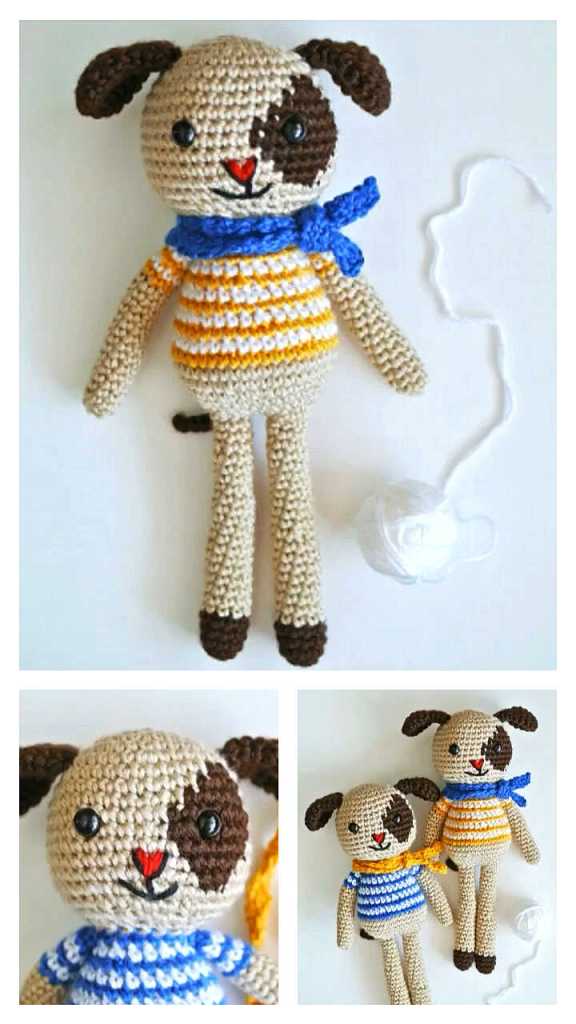
Amigurumi dog free pattern
Eye Patch
with Mustard Yellow yarn
1 6sc in magic circle [6]
2 (inc) x 6 [12]
3 sc, inc, sc
Fasten off, seamless join in the round, and leave a tail for sewing. Insert the Safety Eyes through the centre of the Eye Patch but do not snap the backing in. Set aside for later.
Head
With Banana Cream yarn
1 6sc in magic circle [6]
2 (inc) x 6 [12]
3 (sc, inc) x 6 [18]
4 sc, inc, (2sc, inc) x 5, sc [24]
5-6 sc in all sts [24]
7 (3sc, inc) x 6 [30]
8 sc in all sts [30]
9 2sc, inc, (4sc, inc) x 5, 2sc [36]
10 12sc, inc, 10sc, inc, 12sc [38]
11 12sc, dec, 10sc, dec, 12sc [36] Mark the dec stitches with a stitch marker to help with the positioning of the eyes.
12 2sc, dec, (4sc, dec) x 5, 2sc [30]
13 (3sc, dec) x 6 [24]
14 sc, dec, (2sc, dec) x 5, sc [18]
15 (sc, dec) x 6 [12]
Fasten off, stuff fully, close hole, and weave the tail in.
Ears(Make 2)
with Mustard Yellow yarn
1 6sc in magic circle [6]
2 (inc) x 6 [12]
3 (sc, inc) x 6 [18]
4 6sc, inc, hdc2, (dc2) x2, hdc2, inc, 6sc [24]
Fasten off, seamless join in the round, weave the adjustable tail from the magic circle in, and leave a tail for sewing.
Arms(Make 2)
with Banana Cream yarn
1 6sc in magic circle [6]
2 (sc, inc) x 3 [9]
3-6 sc in all sts [9]
7 (sc, dec) x 3 [6]
8-11 sc in all sts [6]
Fasten off, stuff lightly, sew the opening shut, and leave a tail for sewing.
Legs(Make 2)
with Banana Cream yarn
1 6sc in magic circle [6]
2 (inc) x 6 [12]
3 BLO, sc in all sts [12]
4-7 sc in all sts [12]
Fasten the first leg off. Do not fasten the second leg off. You will be joining the second leg to the first leg in the next part.
Body
Continue with the 2nd leg:
1 Ch 1, sl st to any st on the first leg (this doesn’t count as a stitch in the next round), sc into the same st you sl st into, 11sc around the first leg, sc in the back of the chain, 12sc around the 2nd leg, sc in the front of the chain [26]
2 6sc, inc, (5sc, inc) x 2, 6sc, inc [30]
3 sc in all sts [30]
4 (9sc, inc) x 3 [33]
5 5sc, inc, (10sc, inc) x 2, 5sc [36]
6 5sc, dec, (10sc, dec) x 2, 5sc [33]
7 (9sc, dec) x 3 [30]
8 4sc, dec, (8sc, dec) x 2, 4sc [27]
9 (7sc, dec) x 3 [24]
10 sc in all sts [24]
11 3sc, dec, (6sc, dec) x 2, 3sc [21]
12 (5sc, dec) x 3 [18]
13 sc in all sts [18]
Fasten off, stuff fully, and leave a long tail for sewing.
Shirt
with Duck Egg Blue yarn
1 Ch 38, join with a sl st into the first ch to create a circle (counts as first st), making sure the chain isn’t twisted, 37sc [38]
2 8sc, dec, 17sc, dec, 9sc [36]
3 5sc, dec, (10sc, dec) x 2, 5sc [33]
4 (9sc, dec) x 3 [30]
5 4sc, dec, (8sc, dec) x 2, 4sc [27]
6 (7sc, dec) x 3 [24]
7 5sc, ch 5, sk the next 3 sts, 8sc, ch 5, sk the next 3 sts, 5sc
8 5sc, 5sc into the ch sp, sc, dec (mark this stitch with a stitch marker to help with the Shirt Collar part later), 2sc, dec, sc, 5sc into the ch sp, 5sc [26]
Fasten off, seamless join in the round, weave tails in.
Sleeves
Work on both sleeve openings.
With Duck Egg Blue yarn
1 Pick up 12 sc evenly around the sleeve holes [12]
2-4 sc in all sts [12]
Fasten off, seamless join in the round, and weave tails in. The sleeves will stick up a bit, but once you put the arms through, it’ll look fine.
Shirt Collar
with Duck Egg Blue yarn
With the top opening of the shirt facing you and the front of the shirt facing up, locate the stitch you marked with a stitch marker in Row 8 of the Shirt and sl st into the back loop (highlighted in first photo). This is where you will begin working the Shirt Collar.
1 BLO, Ch 2, dc into the same st you sl st into, hdc, 20sc, hdc, dc, ch 2, sl st into the same st you double crochet into.
There should be a two-stitch opening in the centre. Fasten off and weave all tails in.
Pant Legs(Make 2)
with Sailor Blue yarn
1 Ch 14, join with a sl st into the first ch to create a circle (counts as first st), making sure the chain isn’t twisted, 13sc [14]
2 sc in all sts [14]
Fasten the first pant leg off. Do not fasten the second pant leg off. You will be joining the second leg to the first leg in the next part.
Pants
Continue with the 2nd pant leg:
1 Ch 1, sl st to any st on the first pant leg (this doesn’t count as a stitch in the next round), sc into the same st you sl st into, 13sc around the first pant leg, sc in the back of the chain, 14sc around the 2nd pant leg, sc in the front of the chain [30]
2 (14sc, inc) x 2 [32]
3-8 sc in all sts [32]
Fasten off and weave tails in.
Satchel
with Coffee Bean yarn
1 Ch 6, sc in 2nd ch from hook, 3sc, sc3 in the last ch, continuing on the other side of the ch: 3sc, inc [12]
2 sc3, 3sc, sc3, sc, sc3, 3sc, sc3, sl st [20]
3 BLO, sc in all sts [20]
4-6 sc in all sts [20]
7 turn, 8sc, turn [8]
8-12 8sc, turn [8]
13 sl st, sc, hdc, 2dc, hdc, sc, sl st [8]
Fasten off, weave tails in.
Envelope
with Champagne White yarn
1 Ch 6, sc in 2nd ch from hook, 4sc, turn [5]
2-4 sc in all sts, turn [5]
Fasten off, weave tails in.
With Black or Grey embroider thread, embroider a “v” by doing the back stitch. Start from the centre of the envelope and go towards the corners to ensure that the “v” is evenly positioned.
Assembly
– Position the Eye Patch and pin it down. Sew in place.
– Pin the Ears onto the side of the Head and sew in place. The top of my Ears start at Row 4 of the Head.
– Pin the Body onto the Head and sew together.
– Pin the arms onto the side of the Body. Make sure to leave a 1-row gap between the Head and the top of the Arms and leave a 6 st gap between the Arms at the front of the Body. Sew in place.
– Slip the Shirt onto the Puppy from the bottom up. It’s going to be a tight squeeze, but you should be able to squeeze the body through the shirt.
– To make it easier to thread the arms through the sleeves, attach a piece of scrap yarn to the hands and pull the yarn through the sleeves as you are pulling up the shirt.
– To put the pants on, pull the pants up and fit the legs through the pant legs by using your fingers to pull the legs out.
– Optional: add details to the shirt. Do so either by embroidering details or gluing/sewing on some cut up felt pieces. I chose to just sew a short red line with some Pillar Red yarn on the left sleeve to represent a simple “logo”, but a name tag or a more detailed logo would also be cute.
– With the front of the Satchel facing you, sl st into a stitch on the left side with Coffee Bean yarn. Ch 34, wrap the strap across the shoulder to make sure your strap is long enough, sl st to the other side of the satchel. Fasten off and weave tails in.
– With Coffee Bean yarn, embroider a nose onto the centre of the face.
– With Black or Grey embroidery thread, embroider a shallow, curvy “V” under the nose for the mouth.
– Hang the satchel over the left shoulder and loop the satchel under the right arm.
– Place the envelope in the satchel or sew it onto your Pup’s hand.
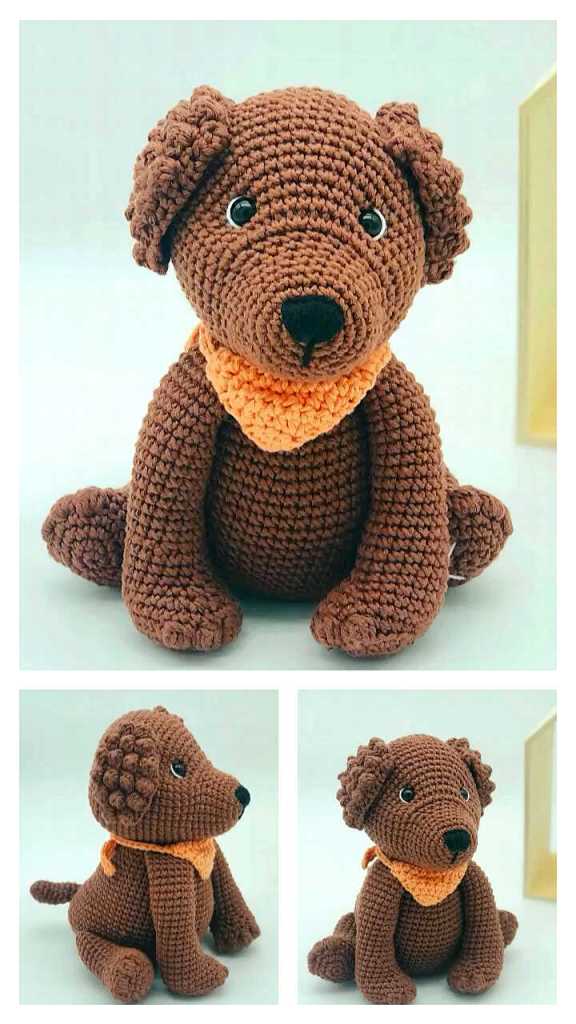
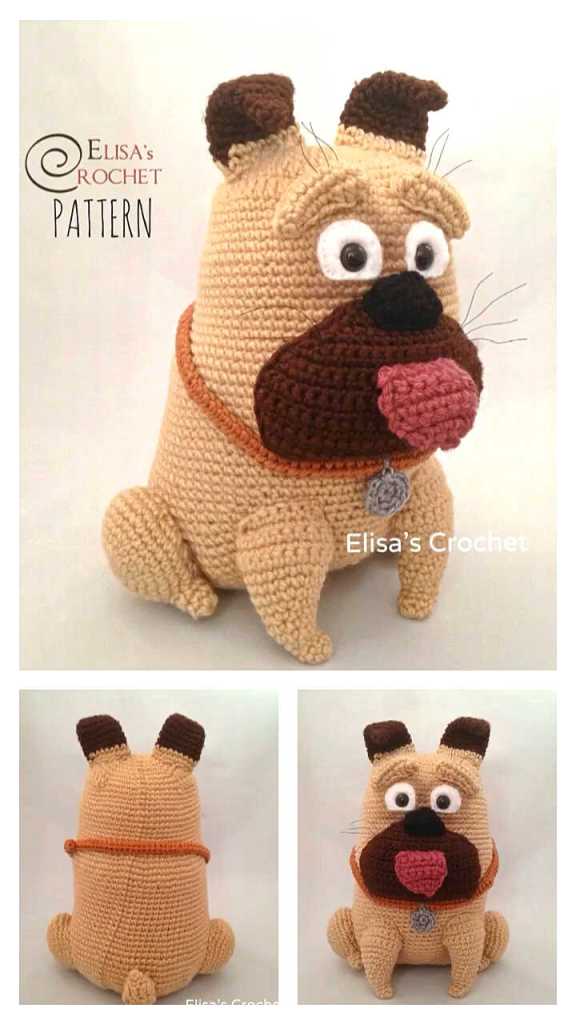
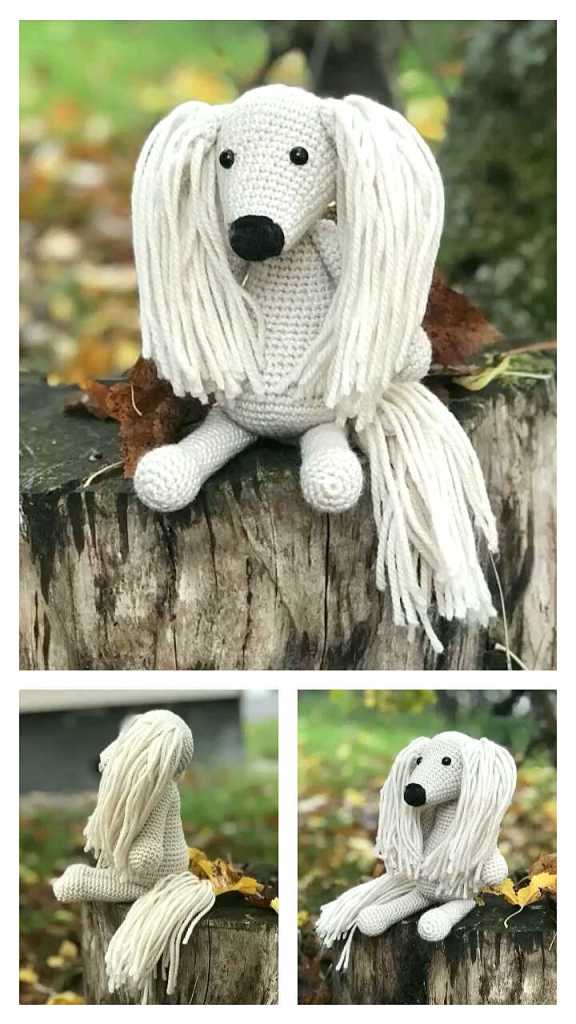
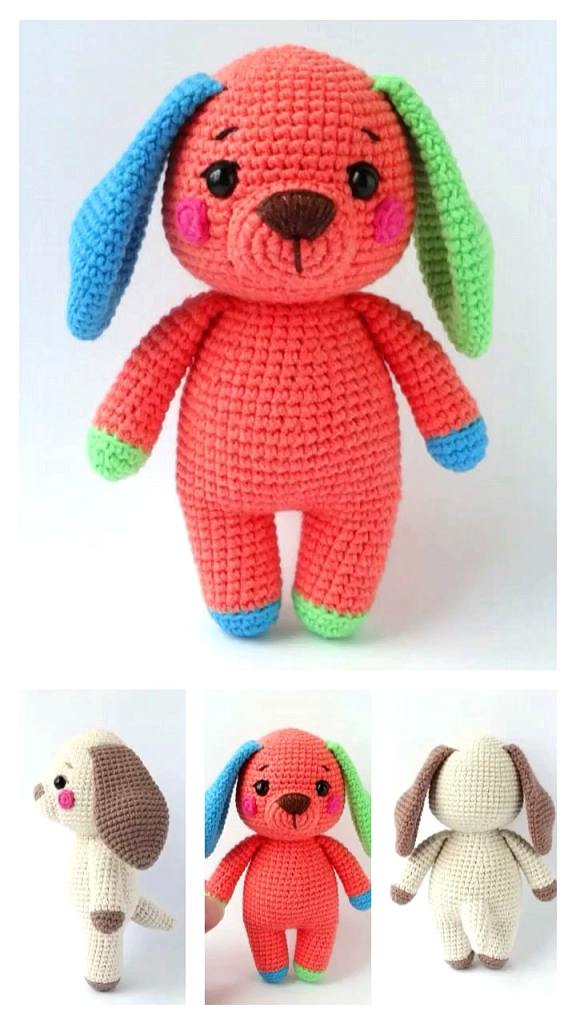
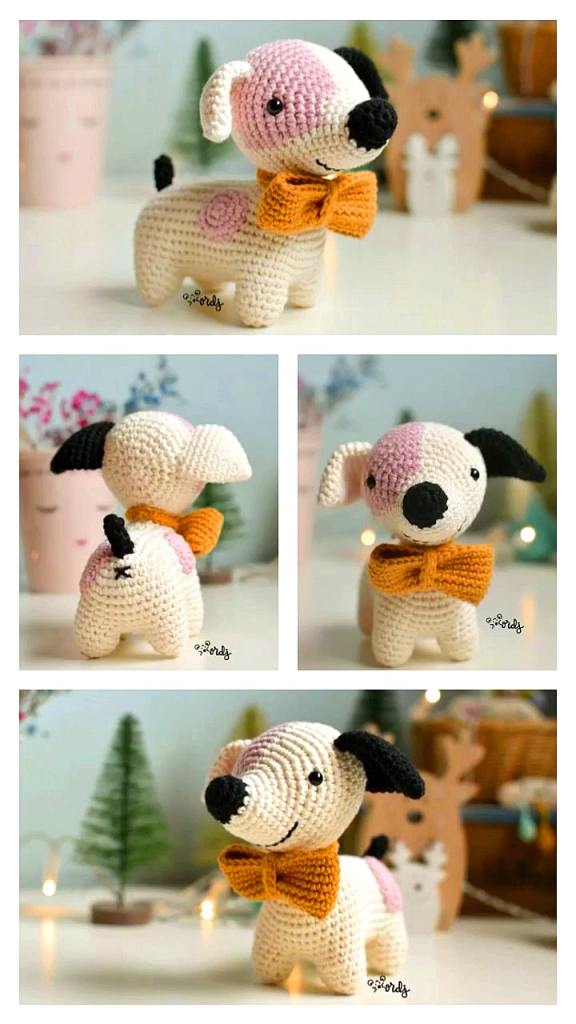
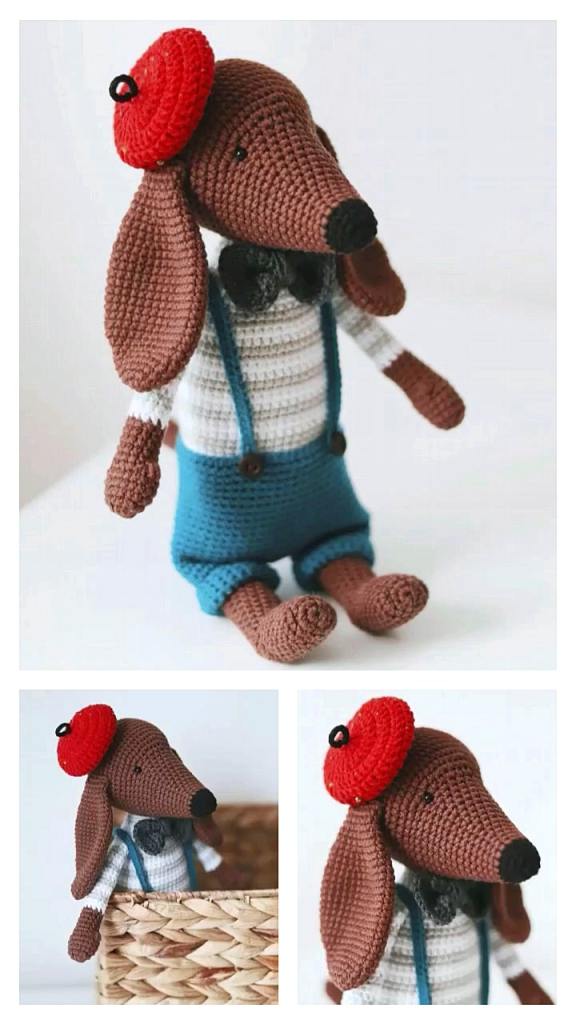
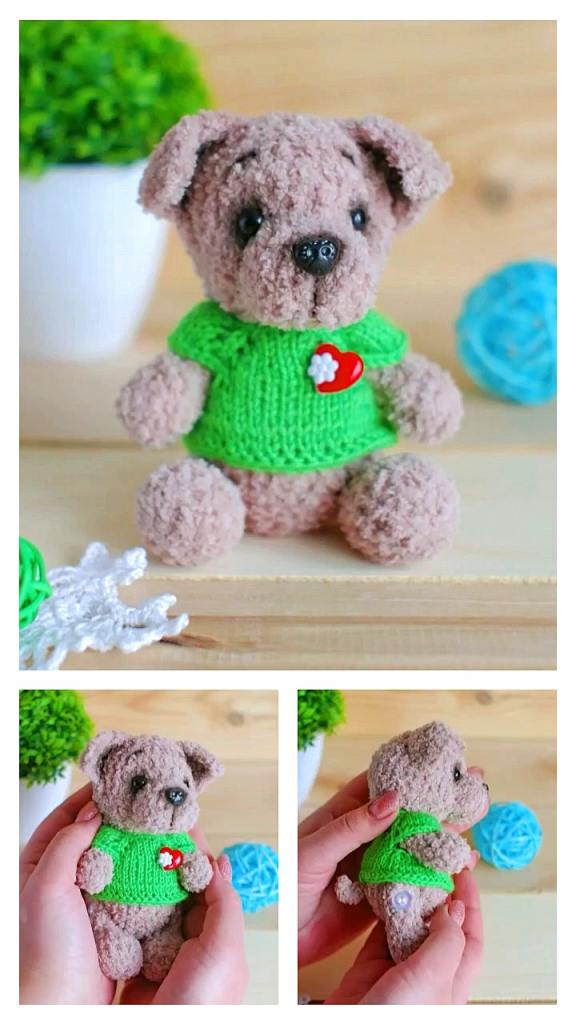
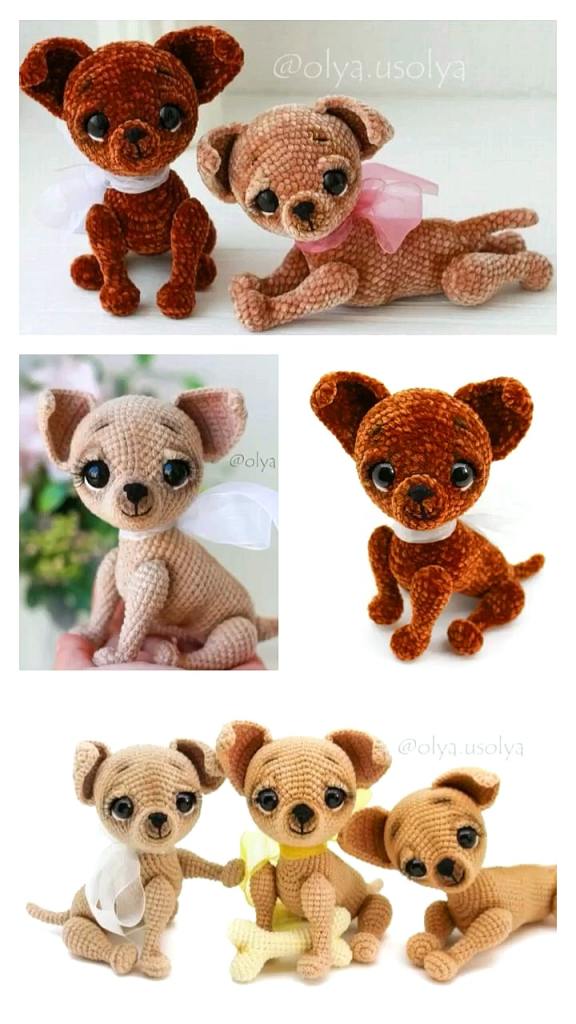
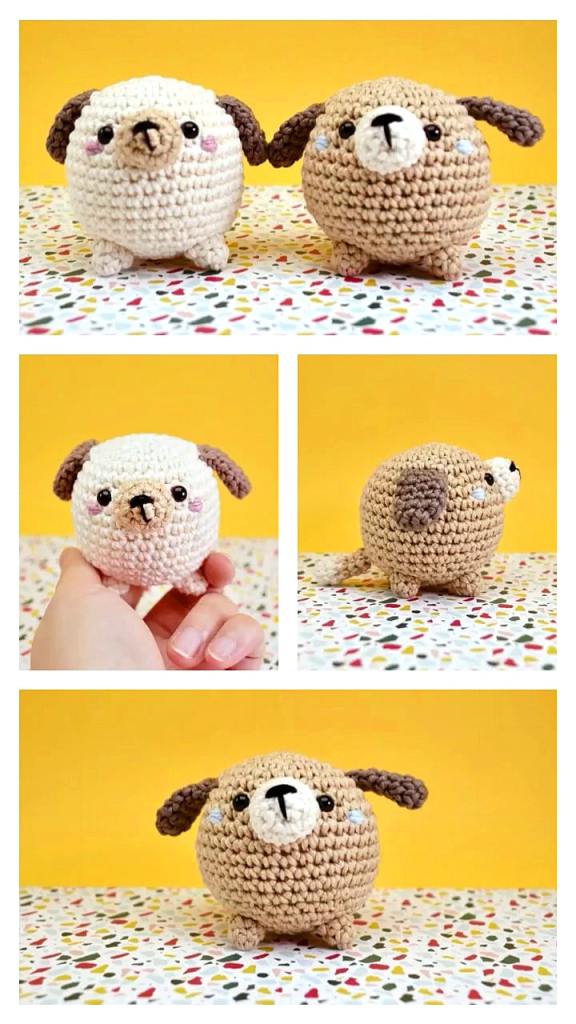
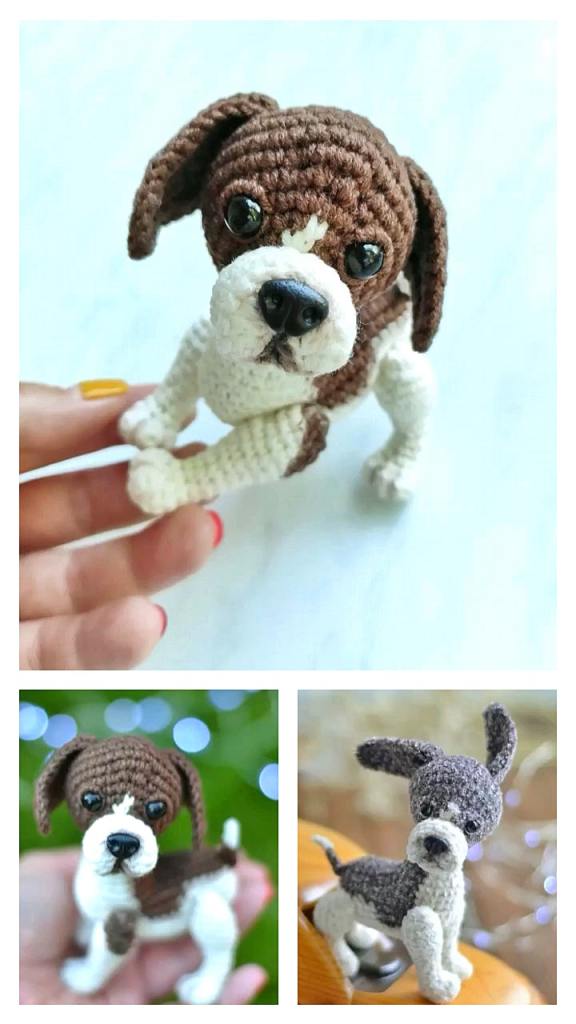
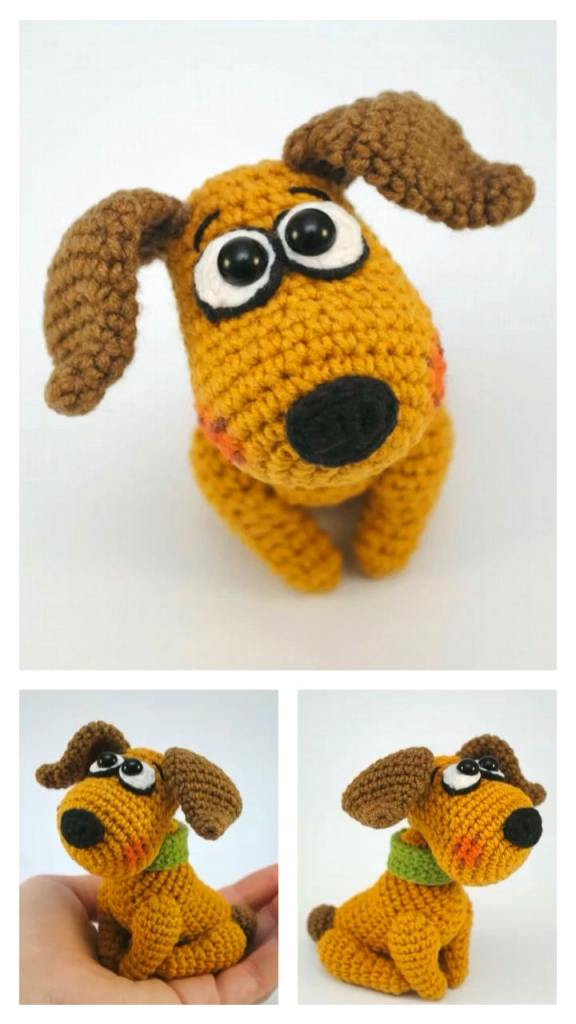
More Amigurumi Dog İdeas